How to create a DAO?
The flow is available by using the DAO factory font-end on a separate subdomain. Developers will also be able to use the existing contracts in the form of a GDK to build their DAO without accessing the factory through the front-end.
Creating a DAO can be done in a few simple steps and does only take a few minutes.
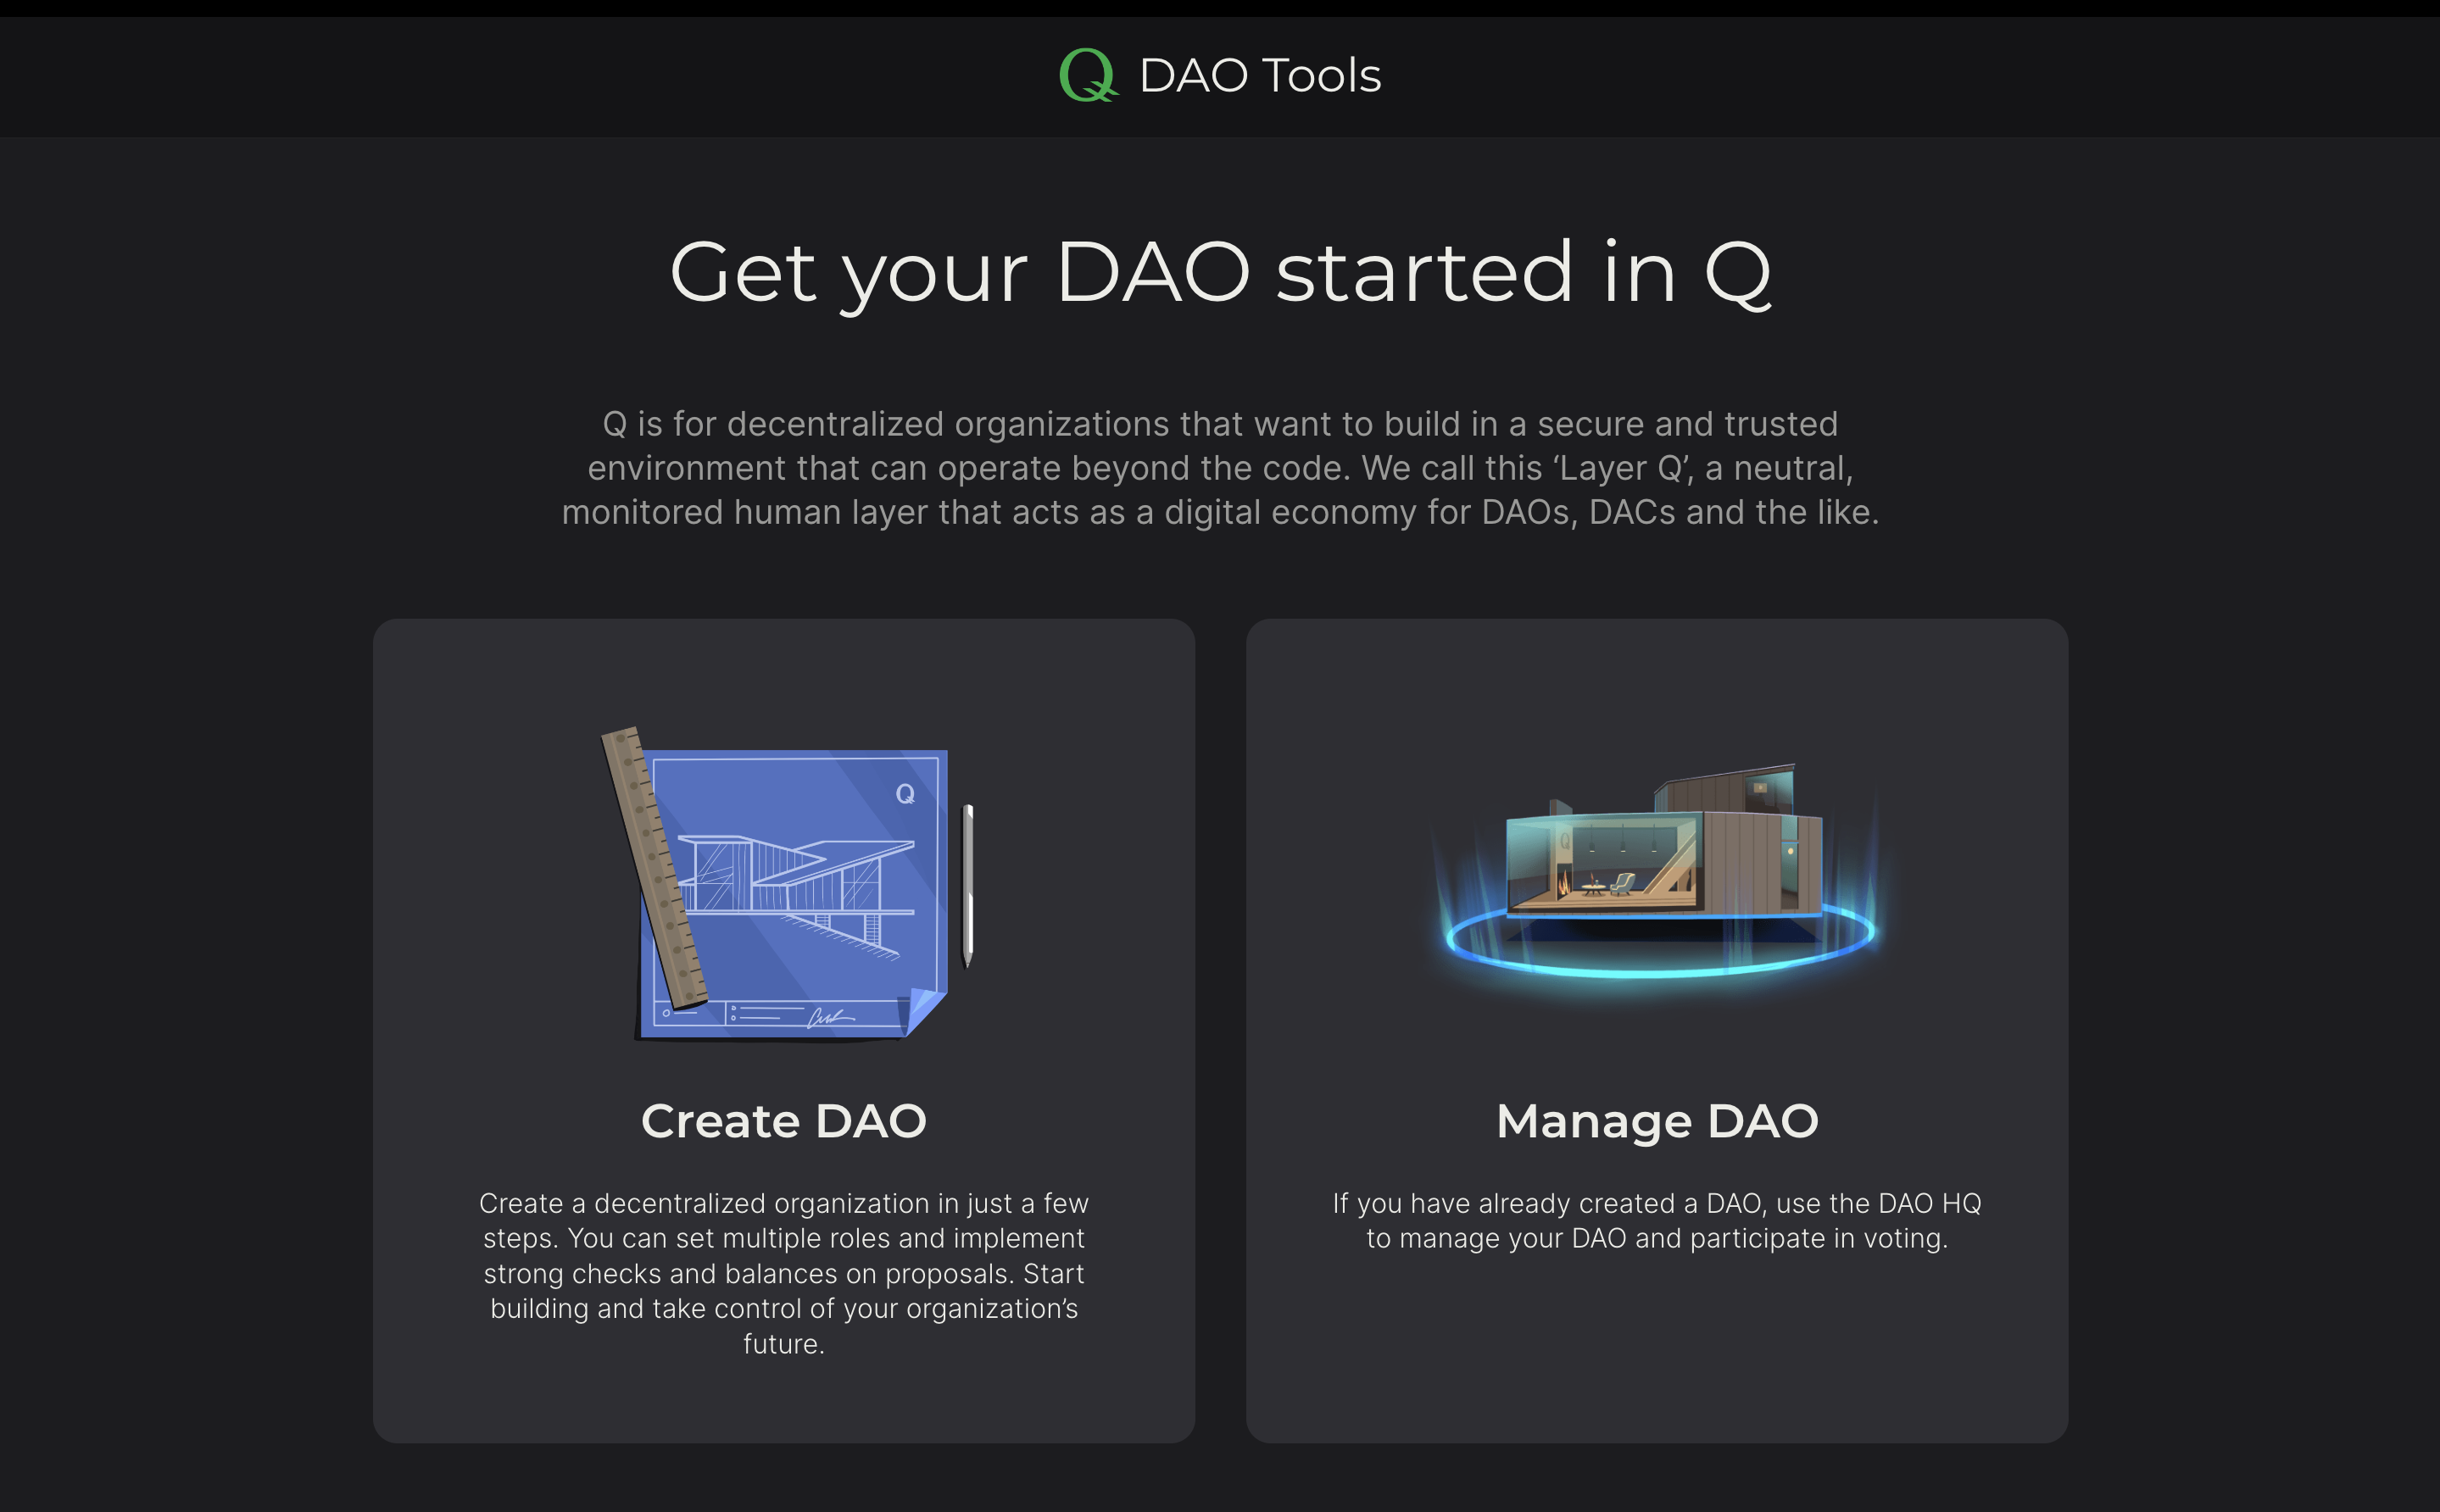
You can start building your DAO from this link
First step (Name and purpose)
In the first step, we fill in the name and purpose of the DAO for which it was created. The purpose serves as a north star for the DAO.
These are simple text fields, the information which will not affect the operation of the DAO itself, but can be included in the constitution of your DAO. The Constitution will be assembled automatically when creating the DAO, so there is no need to worry about it now. Before you deploy your DAO at the end, you can take a look at the proposed constitution and decide if you want to start with or without it.
An example of what this step might look like can be seen in the screenshot below.

Note: The text field that we fill in this step will be added to the constitution generated throughout the creation of the DAO.
Second step (Set membership type)
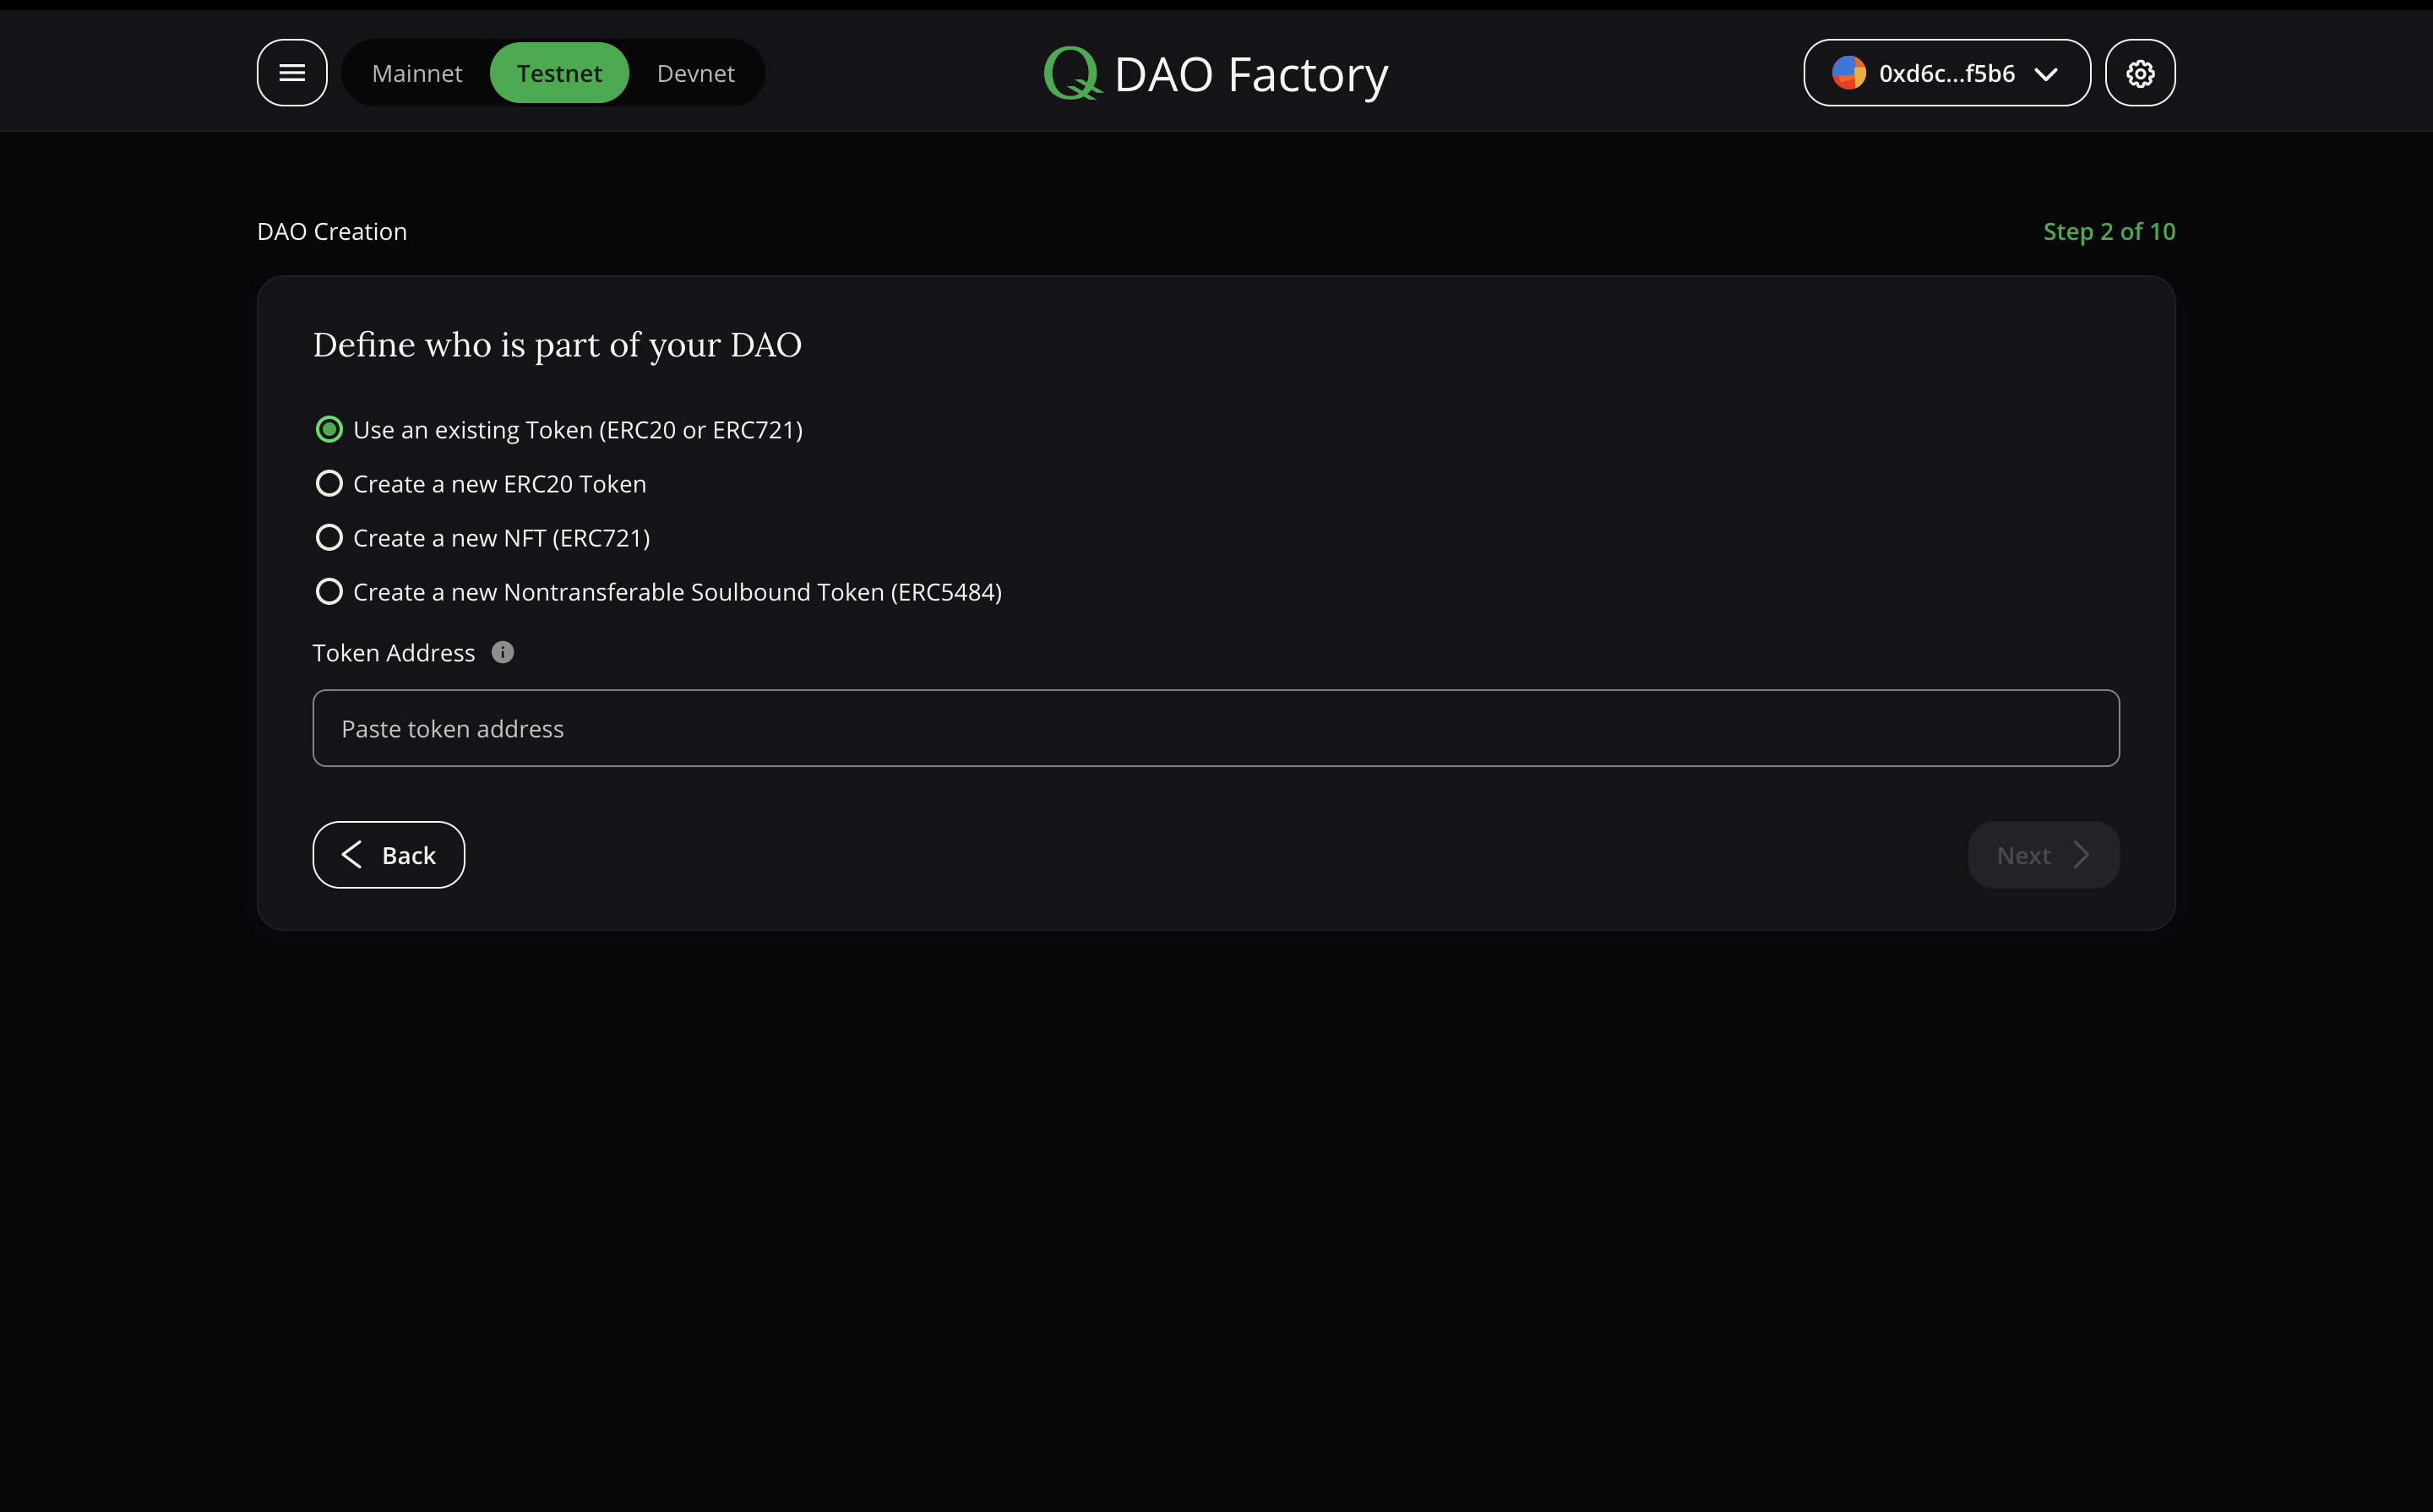
In this step, we determine who will be the Members of the DAO. So who will be able to take part in the voting of the created DAO? Several options are available:
At first, you have to decide, if you want to start the DAO with an existing token or create a new one just for the DAO.
DAOs can be created with existing Tokens or NFTs. This is convenient if you want to create a DAO for an existing community or holders of a specific token or NFT. To do this, it is enough to select the item “Use an existing Token (ERC20 or ERC721)” during the creation of the DAO in the second step and fill in the field with the address of the token (these must be tokens deployed on QGOV)
If you want to create a new token just for the DAO there are a few options:
These options provide the ability to create a new token (with different options), which can later be sent to the community for which this DAO was created
ERC20 Tokens (Fully fractionalize)
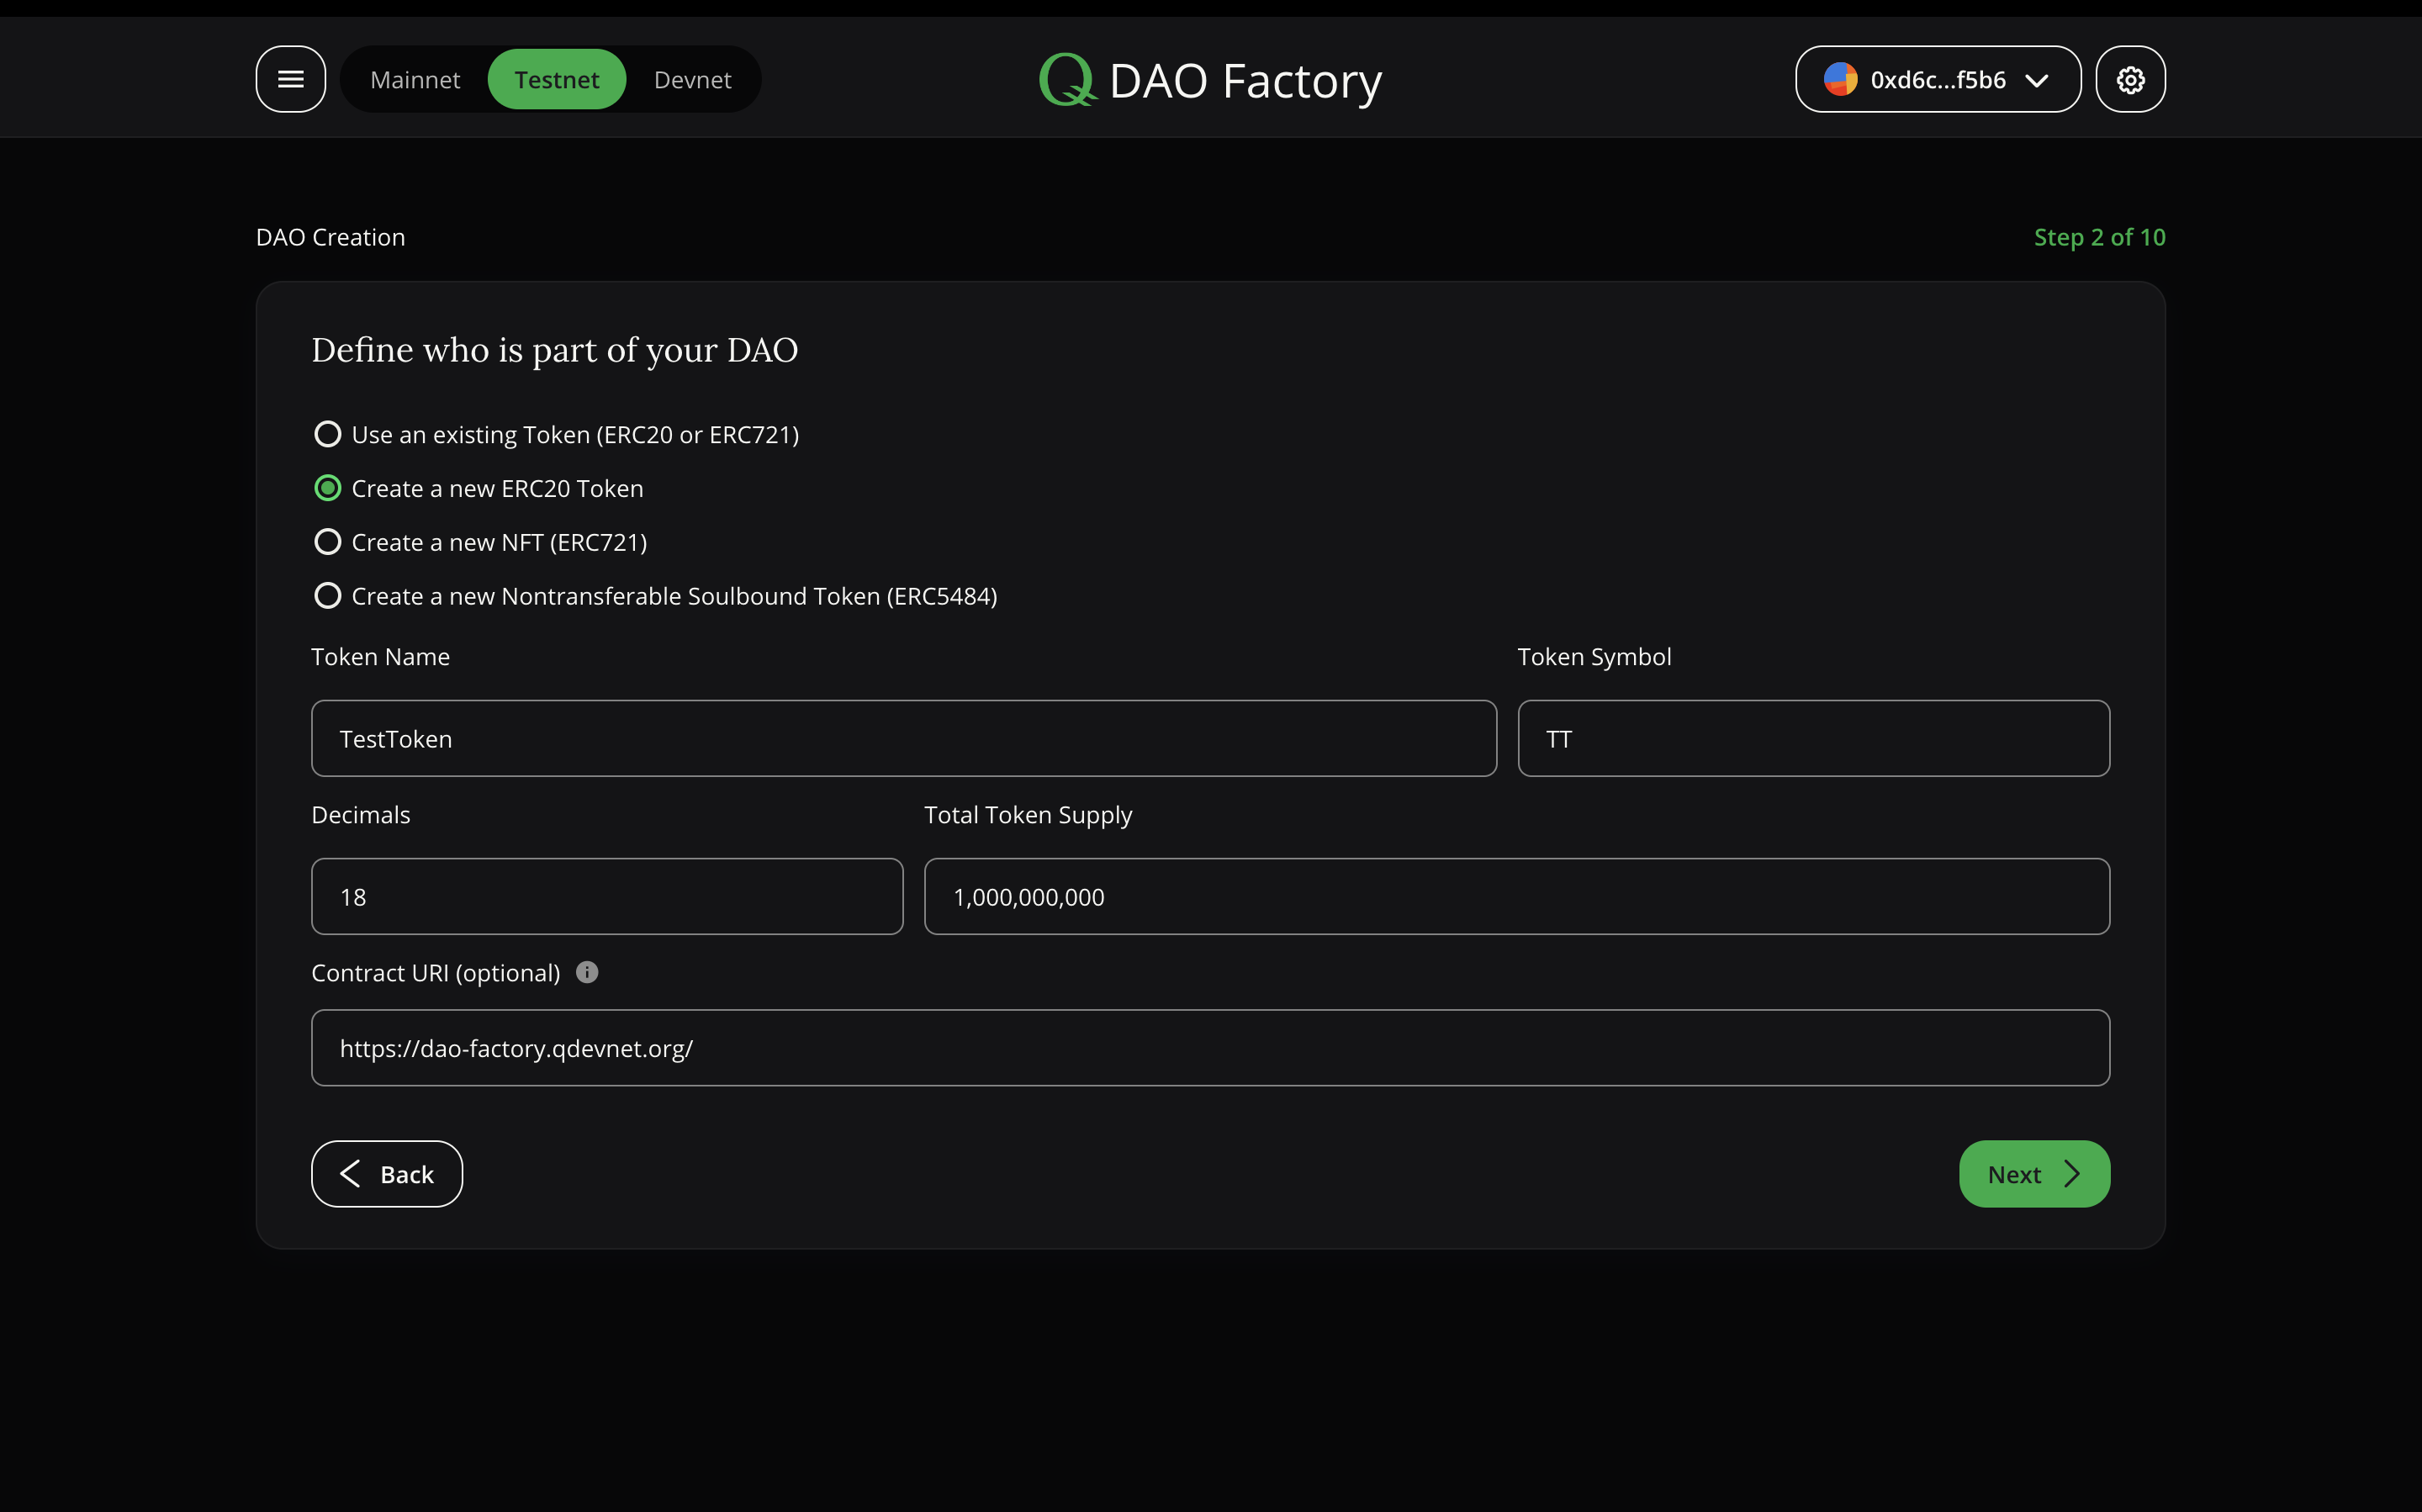
It is possible to create a new ERC20 token and distribute it among users who can participate in the DAO. The token will be used for voting with a 1 Token 1 Vote scheme, so each Token will count as one vote. That means someone with 100 Tokens would have twice the voting power of someone with 50 Tokens. In order to create a new token, you need to select the “Create a new ERC20 Token” item during the creation of the DAO in the second step. You need to fill in the following fields:
Token Name — the name of your future token
Token Symbol — the abbreviated token name for easy reference
Decimals — the number of parts into which one token can be divided. Standard number is 18
Total Token Supply — the total amount of tokens which can ever be minted
Contract URI (optional) — a link to metadata with a description of the token (if needed)
In the screenshot below you can see an example of the filled fields.
NFT (non-fungible token)
It is also possible to create and release an NFT, which will be an indicator of membership in the community, and voting will also be available only to holders of these NFTs. When choosing an NFT as your DAO Token, votings will follow the “1address 1vote” scene. So one address can only have only one vote - even if they have multiple NFTs.
If you choose this point you need to fill following fields:
Token Name — the name of your future token
Token Symbol — the abbreviated name for easy reference
Base URI (optional) — a base reference to the location where the NFT metadata will be stored
Total Token Supply — the total amount of tokens which you can mint
Contract URI (optional) — a link to metadata with a description of the NFT collection to which the issued tokens will belong
The way to fill in the fields is approximately the same as for the ERC20 token, like a Token Name, Token Symbol and the Total Token Supply. Additionally, you can (if you want) add a link to the NFT metadata (e.g. a picture).
Remember that each NFT can also be minted with a unique link to unique metadata through the dashboard. So each NFT from your collection can have a different image.

Soulbound Token (SBT) (non-fungible and non-transferable token)
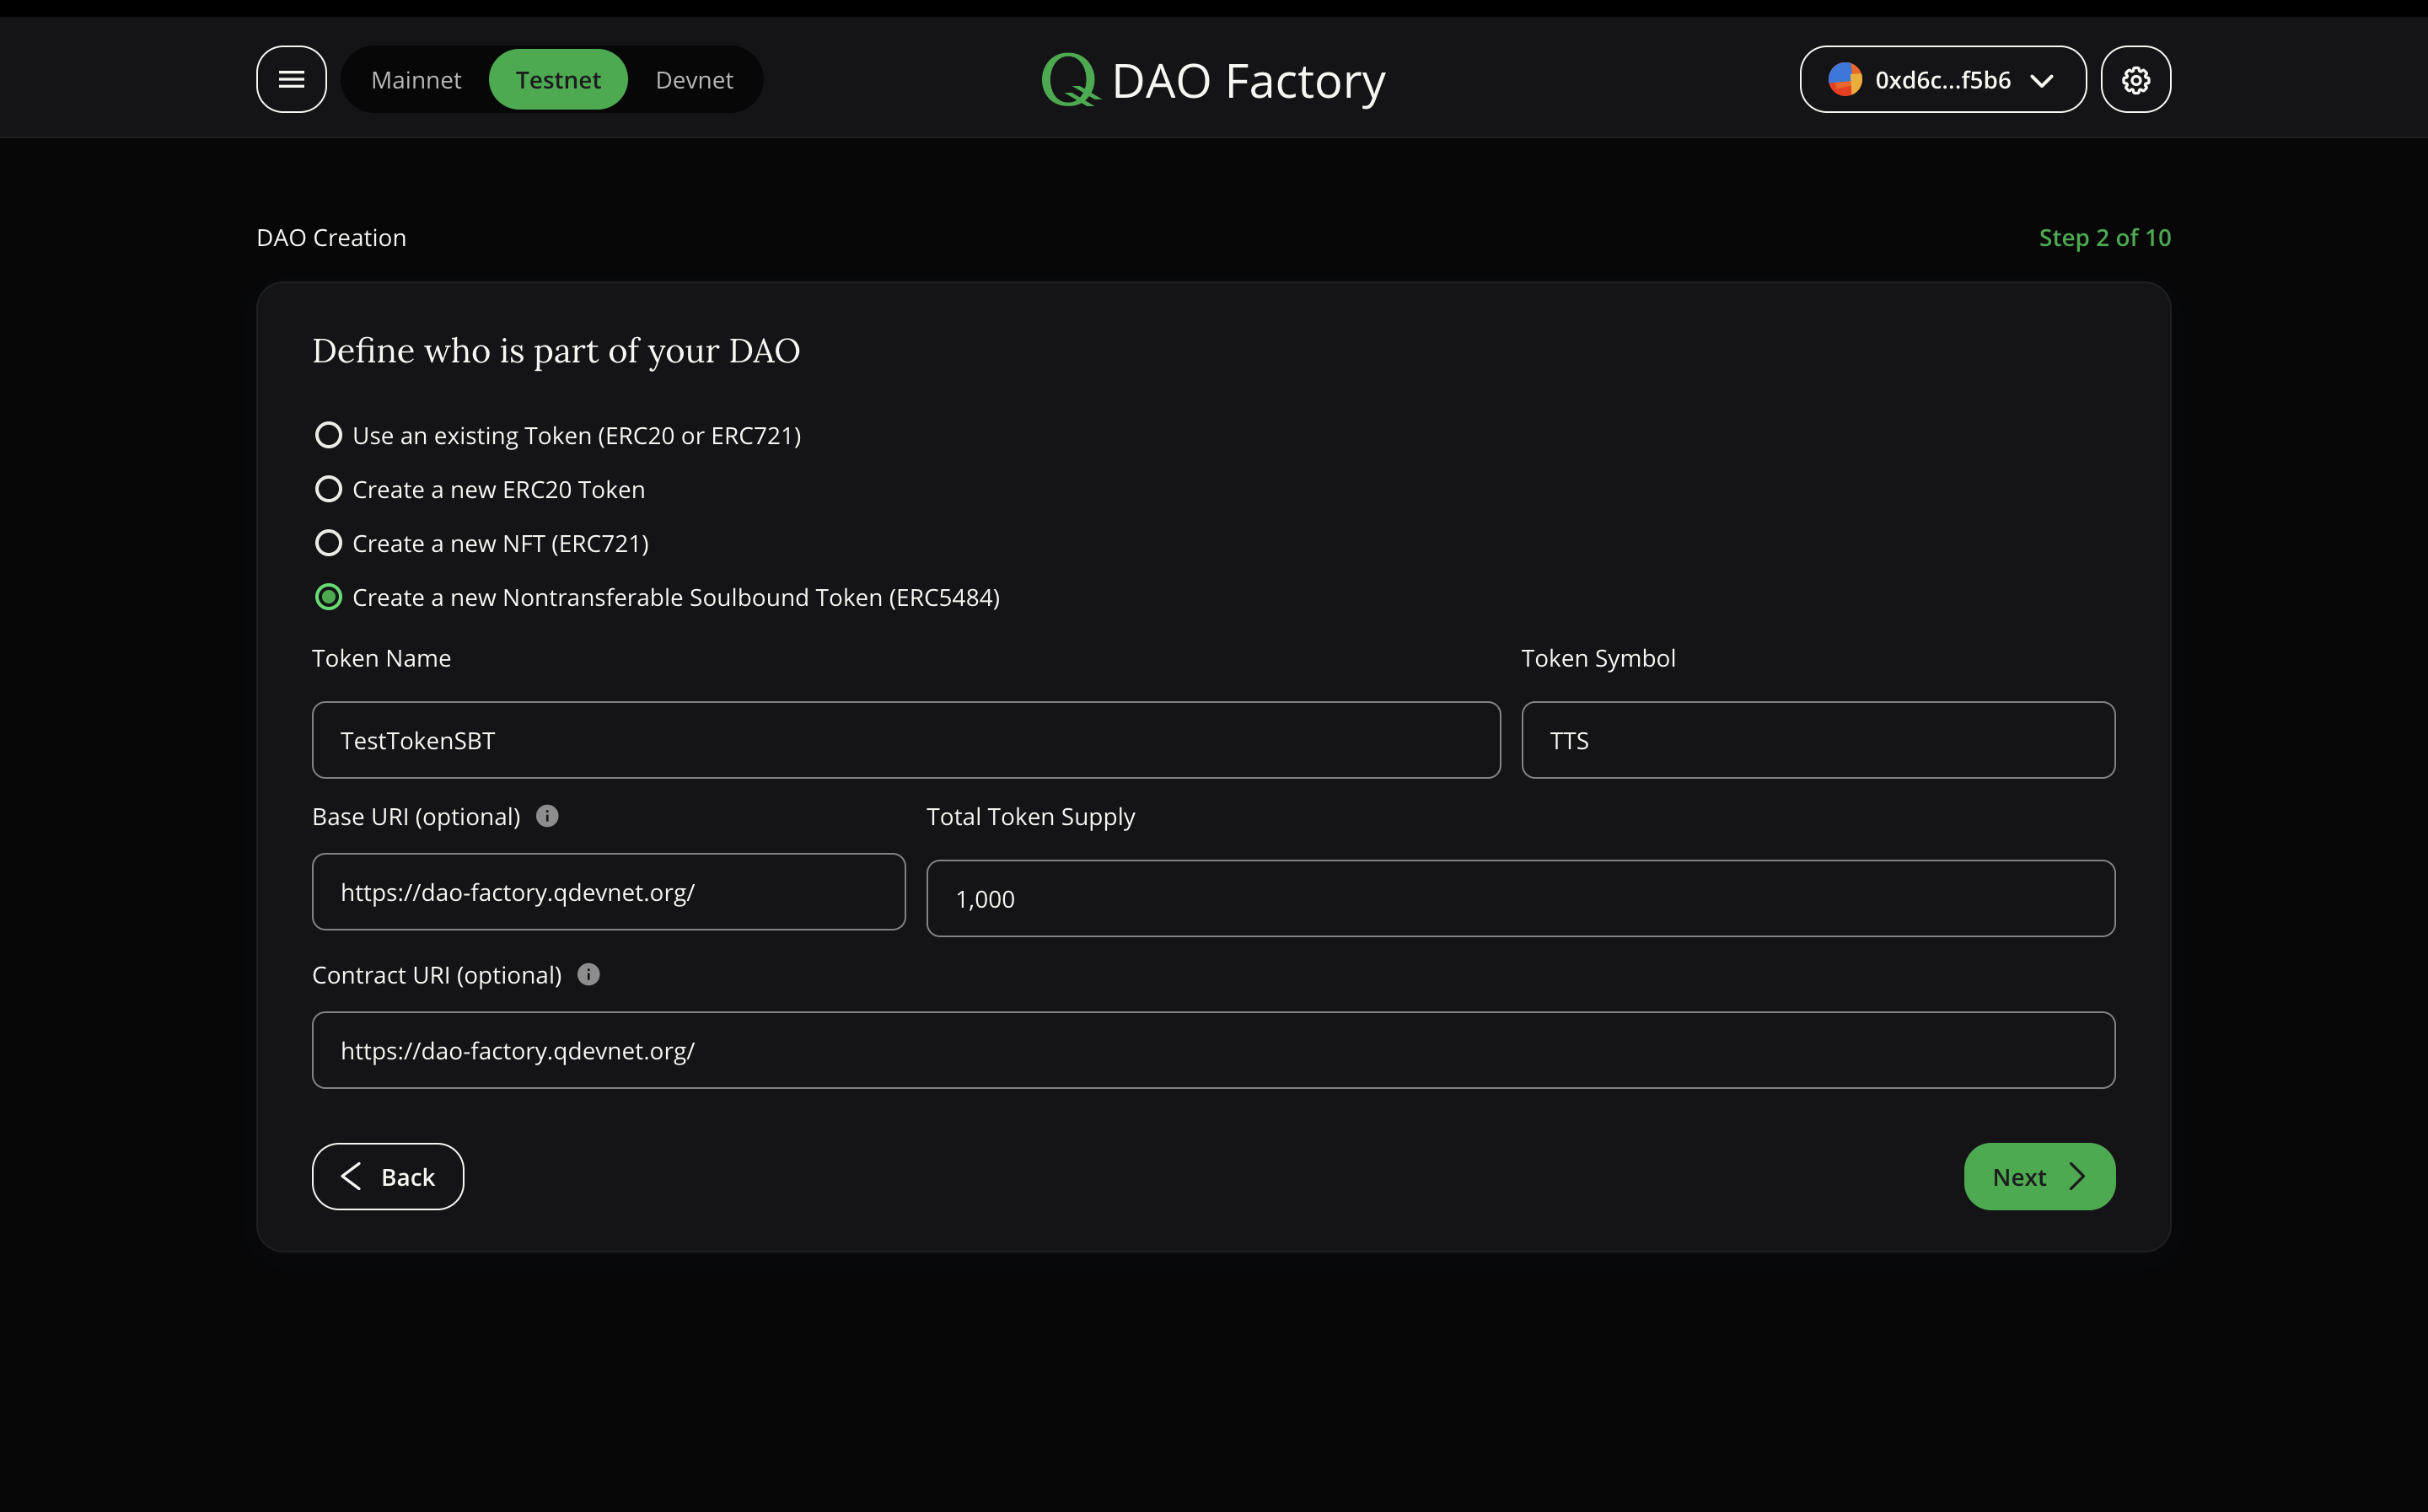
This is also NFT, but with the difference that it cannot be moved from address to address. If the user received such a token, then in the future he will not be able to transfer it to someone. It is created according to the same principle as the usual NFT, but you need to remember that you cannot send these tokens from address to address. SBT will be used for voting with a 1 Address 1 Vote scheme.
To get this type of DAO Membership you need to fill in the fields, like for NFT:
Token Name — the name of your future token
Token Symbol — the abbreviated name for easy reference
Base URI (optional) — a base reference to the location where the NFT metadata will be stored
Total Token Supply — the total amount of tokens which you can mint
Contract URI (optional) — a link to metadata with a description of the NFT collection to which the issued tokens will belong
ERC20 Tokens will follow a 1Token1Vote scheme, while NFTs result in 1address1vote mechanics. Keep this in mind when choosing the type of membership.
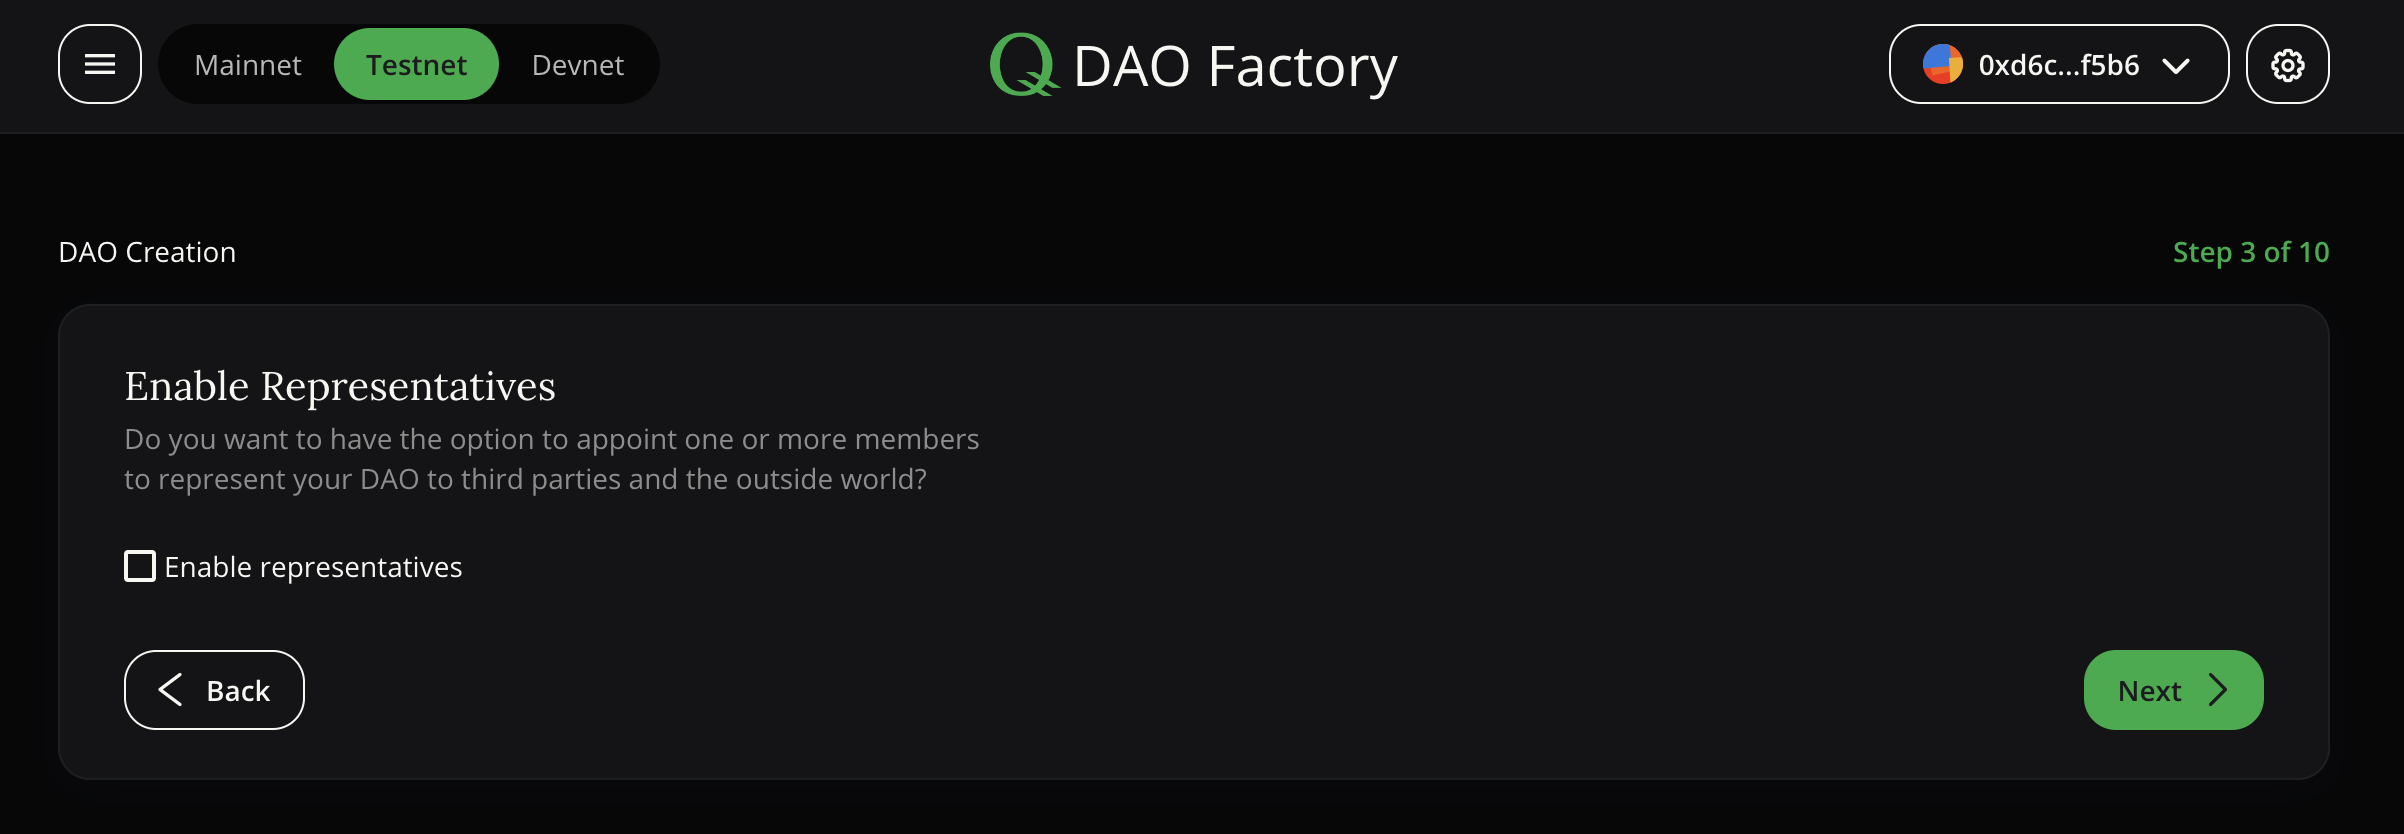
Third step (Enable Representatives)
In this step, you can choose if the DAO needs someone to represent them in the outside world.
Representatives can be one or more people elected by the DAO Members. They do not make on-chain decisions, but can execute the will of the DAO in the “traditional world”. Like signing contracts, or transferring fiat money.
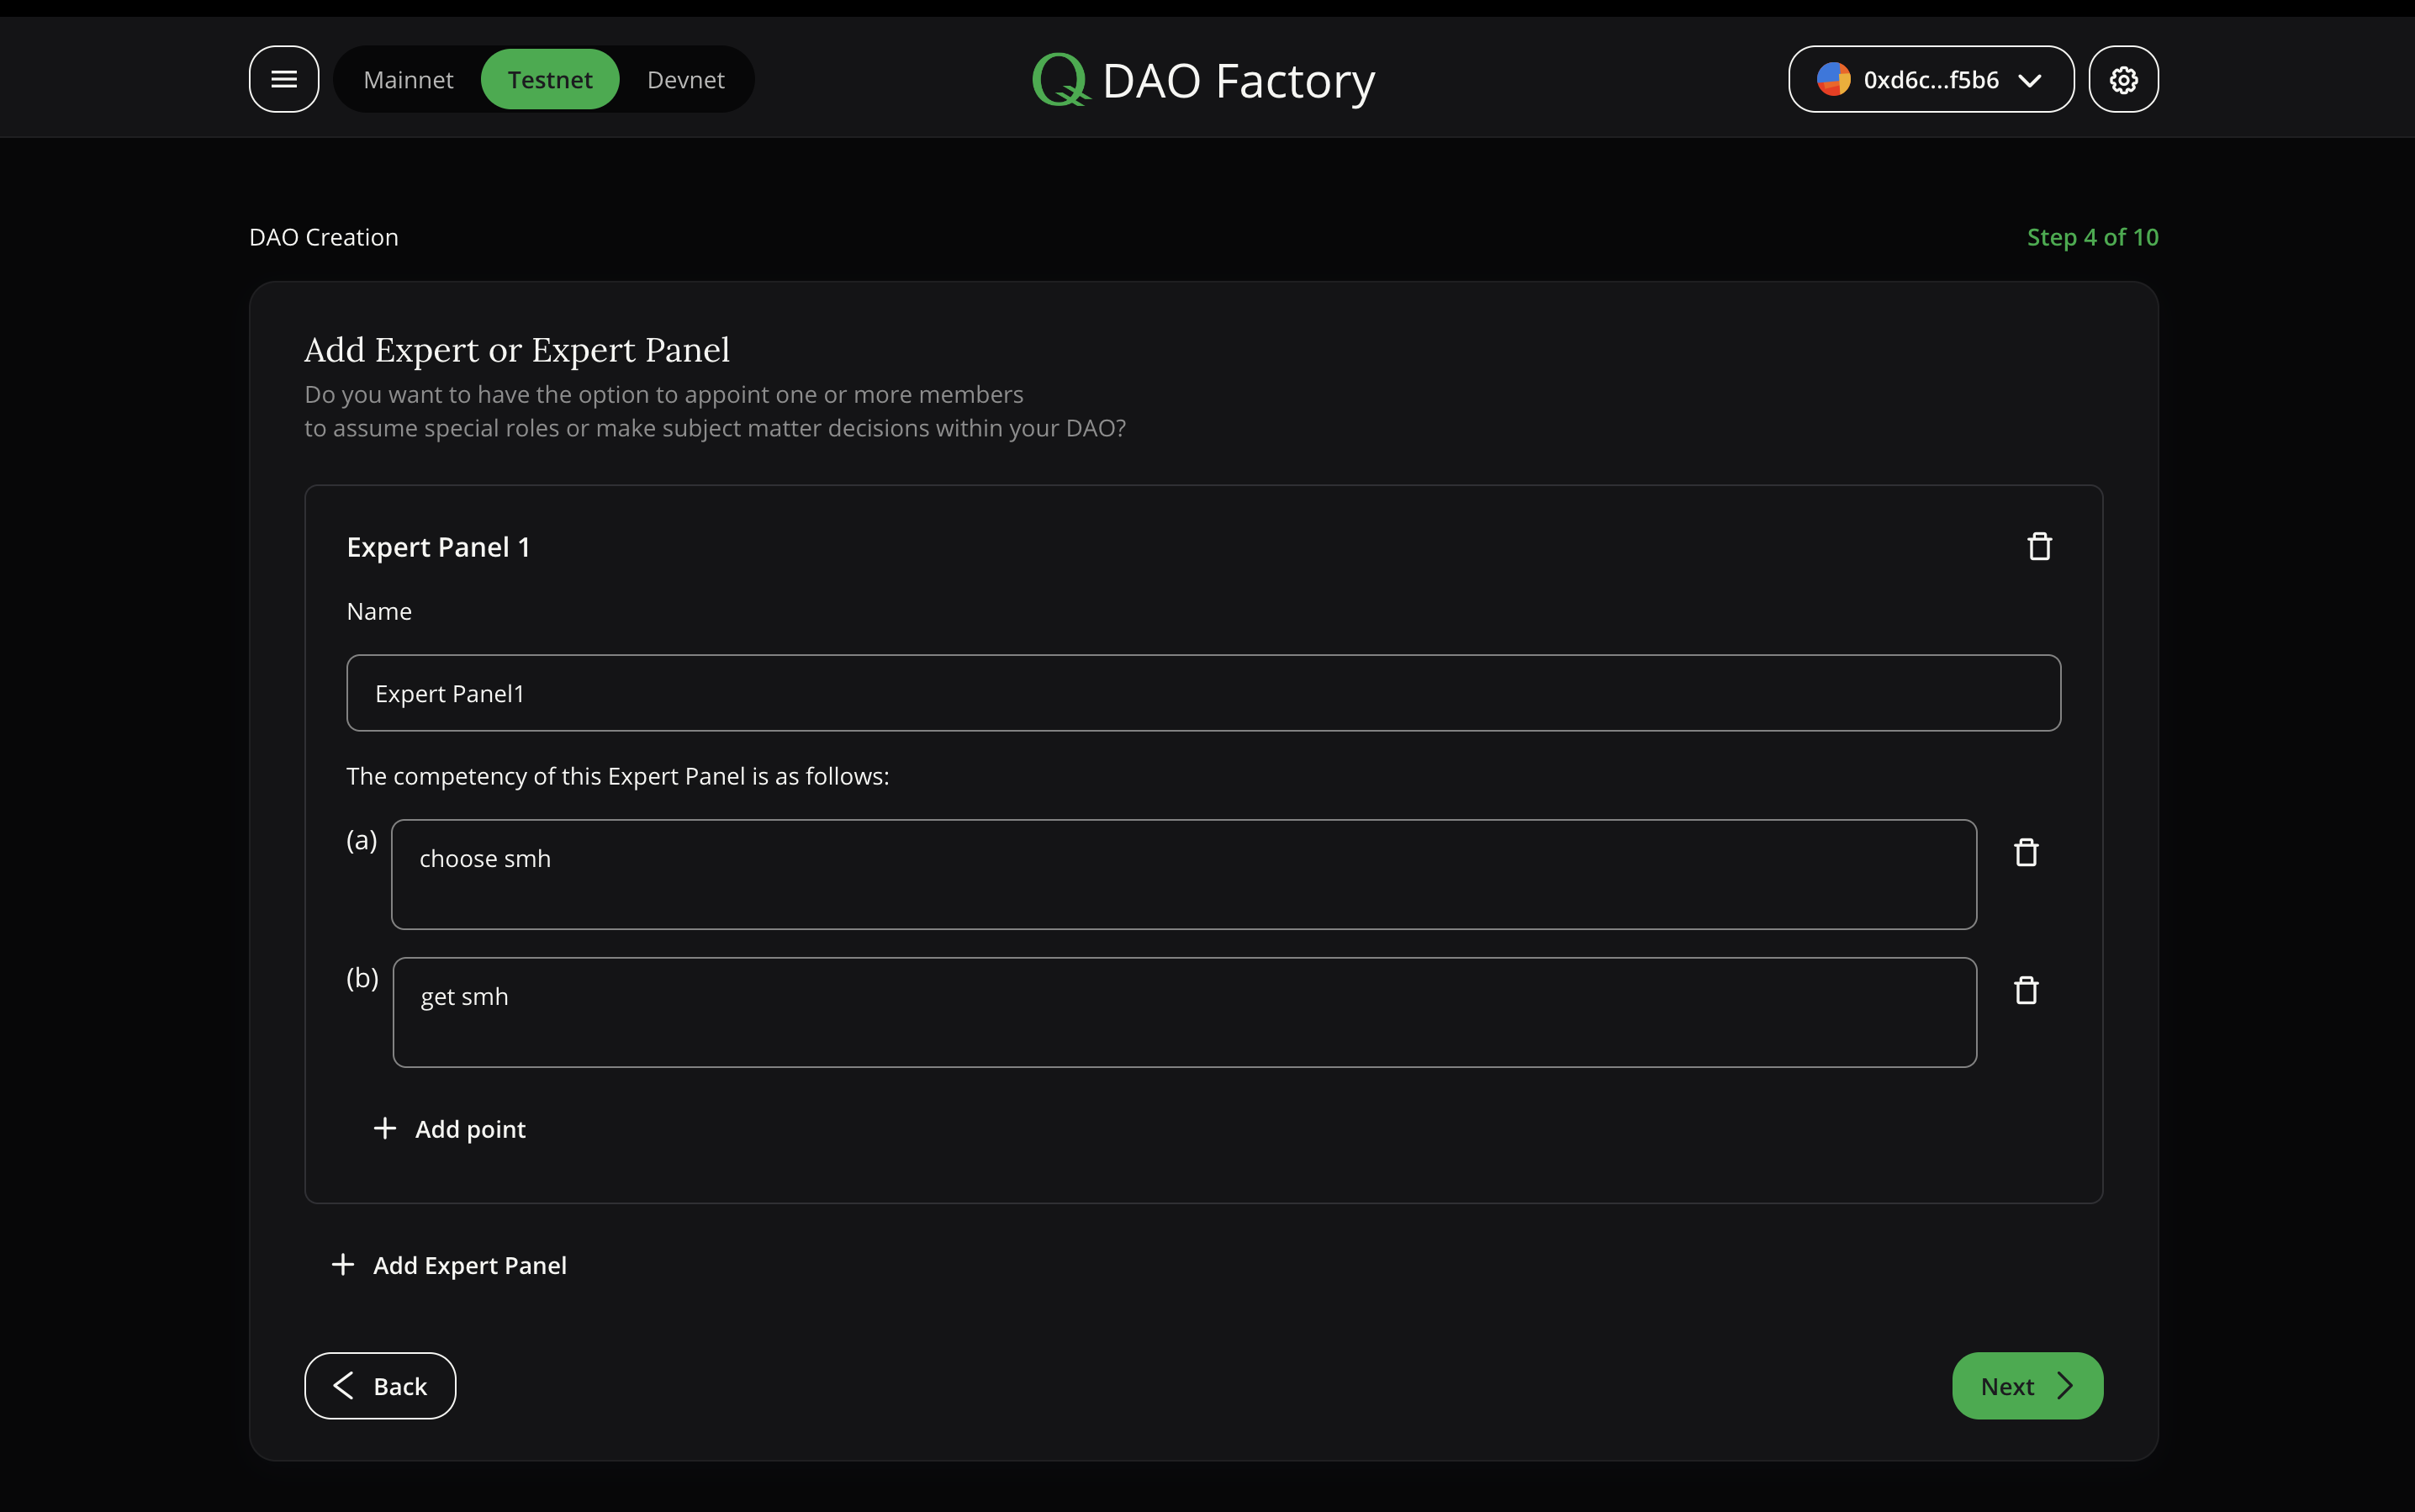
Fourth step (Expert panels creation)
The fourth step is the creation of expert panels. Names are assigned and competencies are described that will be the main ones for each expert panel.
Expert Panels are subsets of members who can have different rights and responsibilities than the ‘normal’ members.
The information filled in the text fields at this stage will be displayed in the DAO Constitution, technical settings will be configured in the following steps.
You can also create several Expert Panels by clicking on the appropriate button.
Multiple Expert Panels can be used to represent different sets of stakeholders; for example, an expert panel could be an advisory panel or the supervisory board of an existing company.
Be precise and specific in naming and describing the Expert Panel to make operating your DAO easier.
One or more members can be appointed by the DAO.
Note: This step fills in the text that will be included in the constitution generated throughout the creation of the entire DAO. These fields will not be validated by smart contracts or other platform resources.
It might look like this:
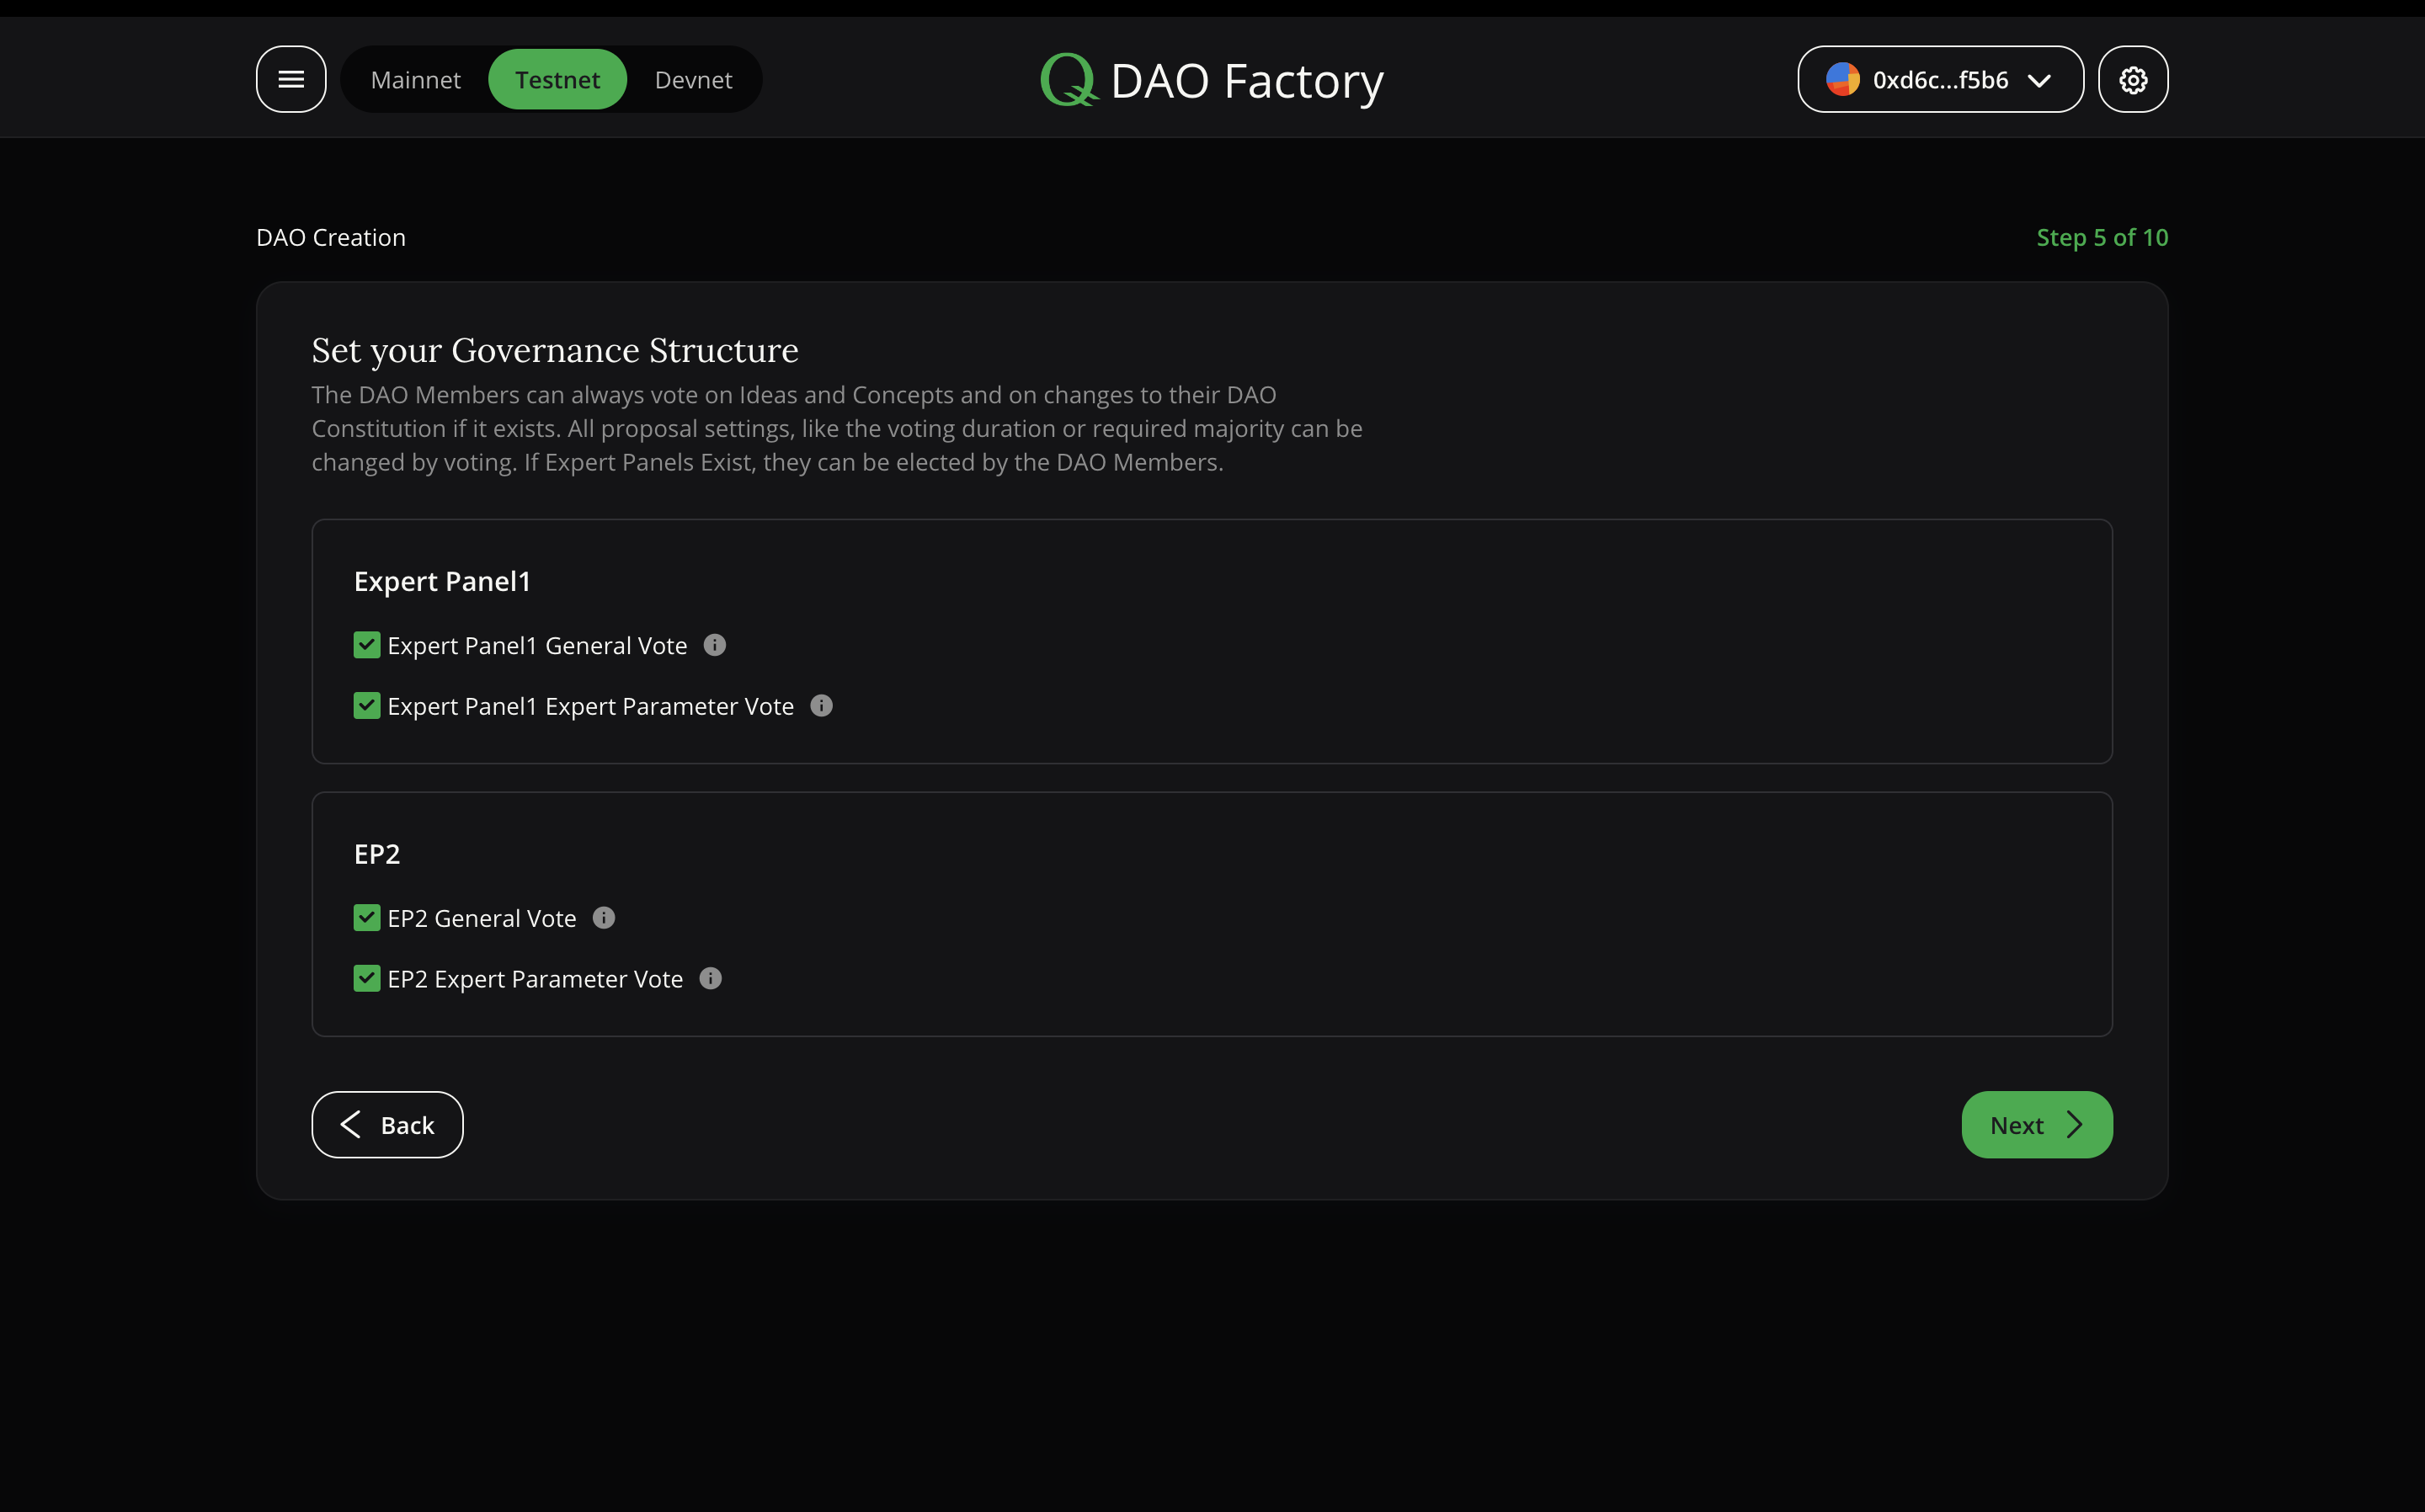
Fifth step (Set governance structure)
In this step, the main points of how the DAO will work are selected (who can vote on what).
For General DAO participants, following points are available by default and not displayed here:
- Constitution Vote (for changing DAO parameters or the DAO Constituion)
- General Vote (for decisions without immediate technical or constituional changes)
- EP Membership Vote(s) (if applicable - for electing members to an Expert Panel)
- EP Configuration Vote(s) (if applicable - for changing parameters of an Expert Panel)
Also in this step, you can select the proposals you want to use for each EP you created in the previous step. They are both optional. For each EP, the following options are available:
- EP General Vote (for decisions by the Expert Panel without immediate technical changes)
- EP Parameter Vote (for allowing the Expert Panel to set or save something on the blockchain)
Note: The number of distinct EP Membership Votes, EP General Update Votes, and EP Parameter Votes depend on the number of Expert Panels that we created in the previous step.
Note: We go with a 5% Quorum and 50% Majority for all proposals for now, but this will be updatable by the DAO through voting. To make setting these parameters of your DAO quick and easy, we also start with a 5 min voting period, so these parameters can be changed quickly when getting started with your DAO.
You can see an example of the Fifth Step here:
You can read more about proposals following this link.
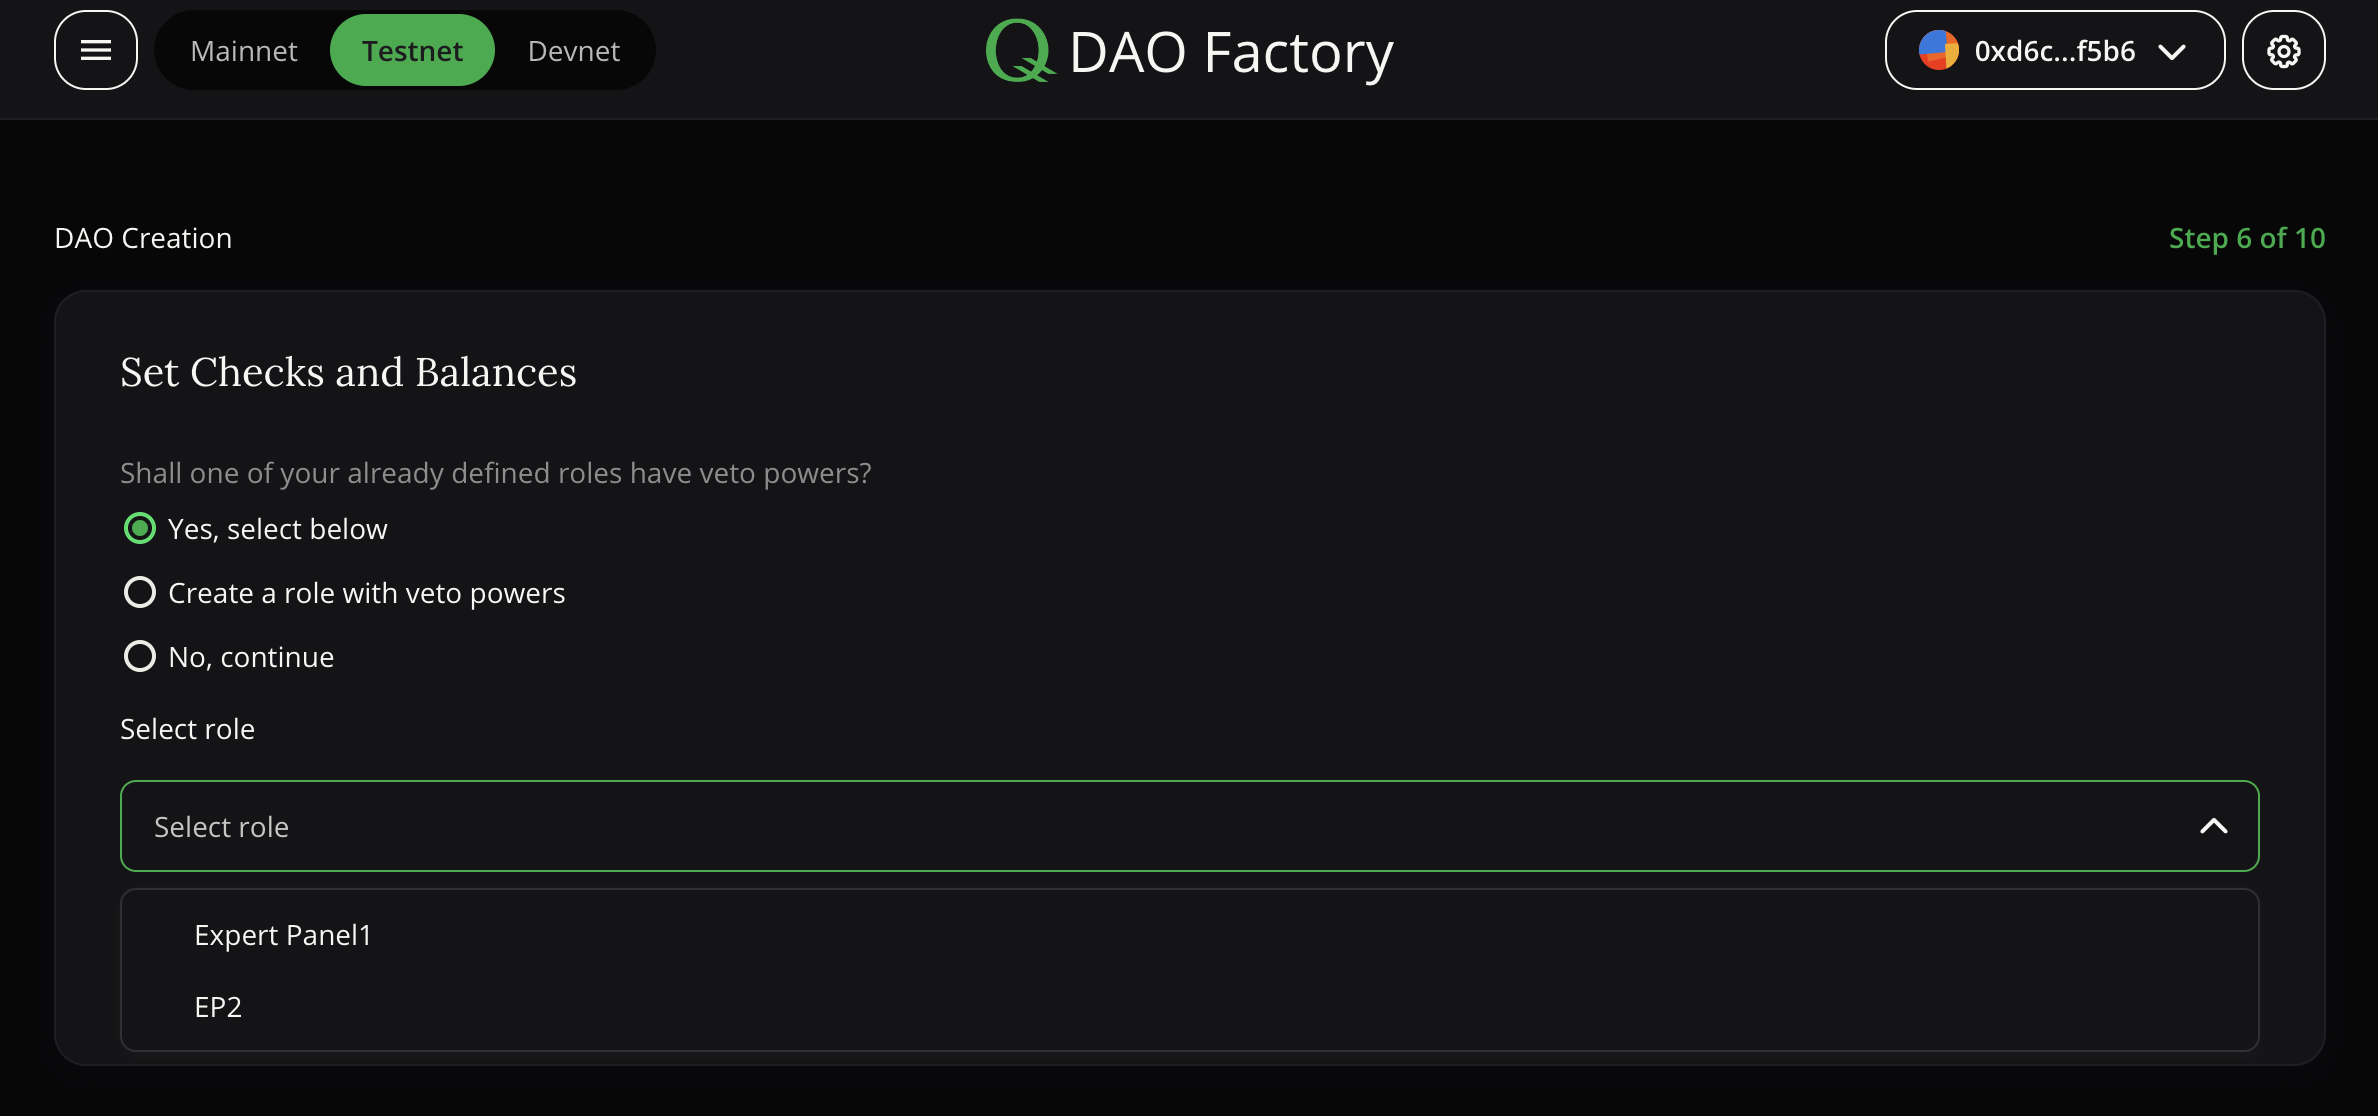
Sixth step (Veto rules setting)
Here you can configure which EPs will be able to veto which proposals. If you have not thought of checks and balances during the previous steps, you can just create a new Expert Panel that will be able to veto proposals and serve as a Guardian for your DAO. This newly created “Guardian” Expert Panel will not have to vote on any Proposals themselves, but they can cast a veto.
Three options are available:
- Select one of the Expert Panels previously created that will by default serve as a guardian for all proposals (except their own)
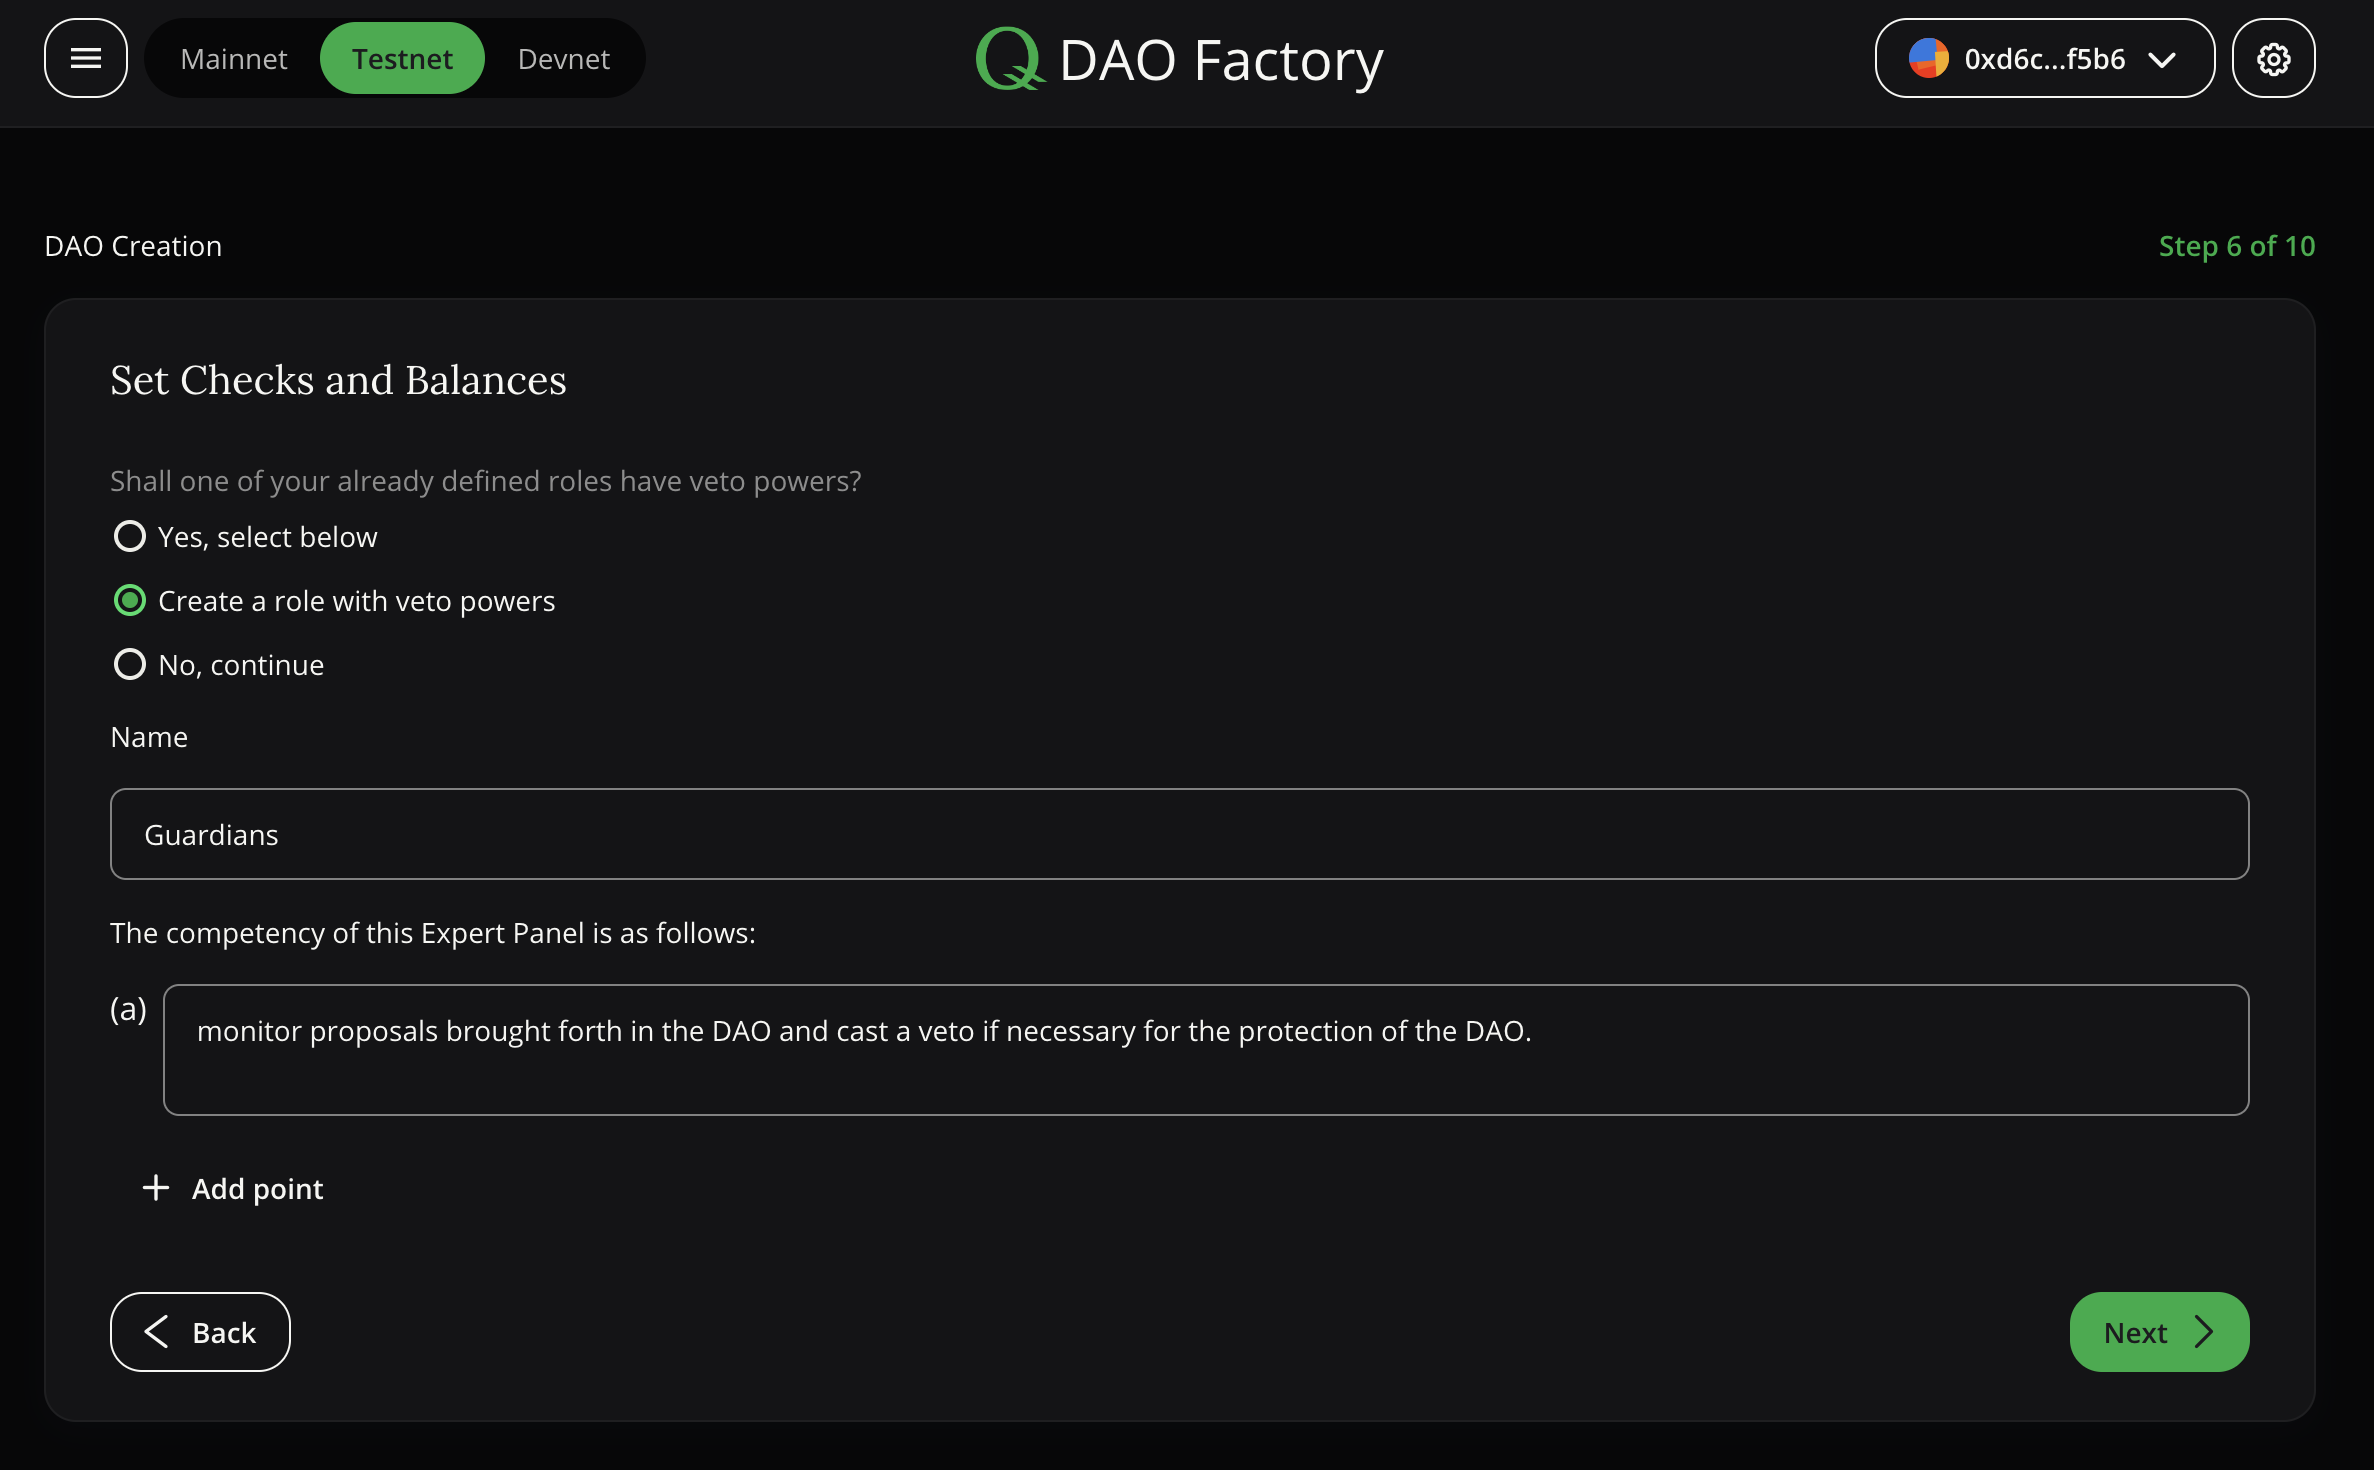
- Create a new guardian role that will, by default serve as a guardian for all proposals. To do this, as in the previous steps, you will need to fill in the text fields Name and Competencies. (This field will be pre-filled, but can be changed if one wants)
- Don’t select any default guardian which means that by default, proposals cannot be vetoed.
During the selection from the already created panels, this step will look like this:
When creating a new expert panel, the fields will be the same as in the (then) fourth step. But they will be pre-filled. They can be changed.
The constructor will look like this:
Seventh step (Сustomize the veto)
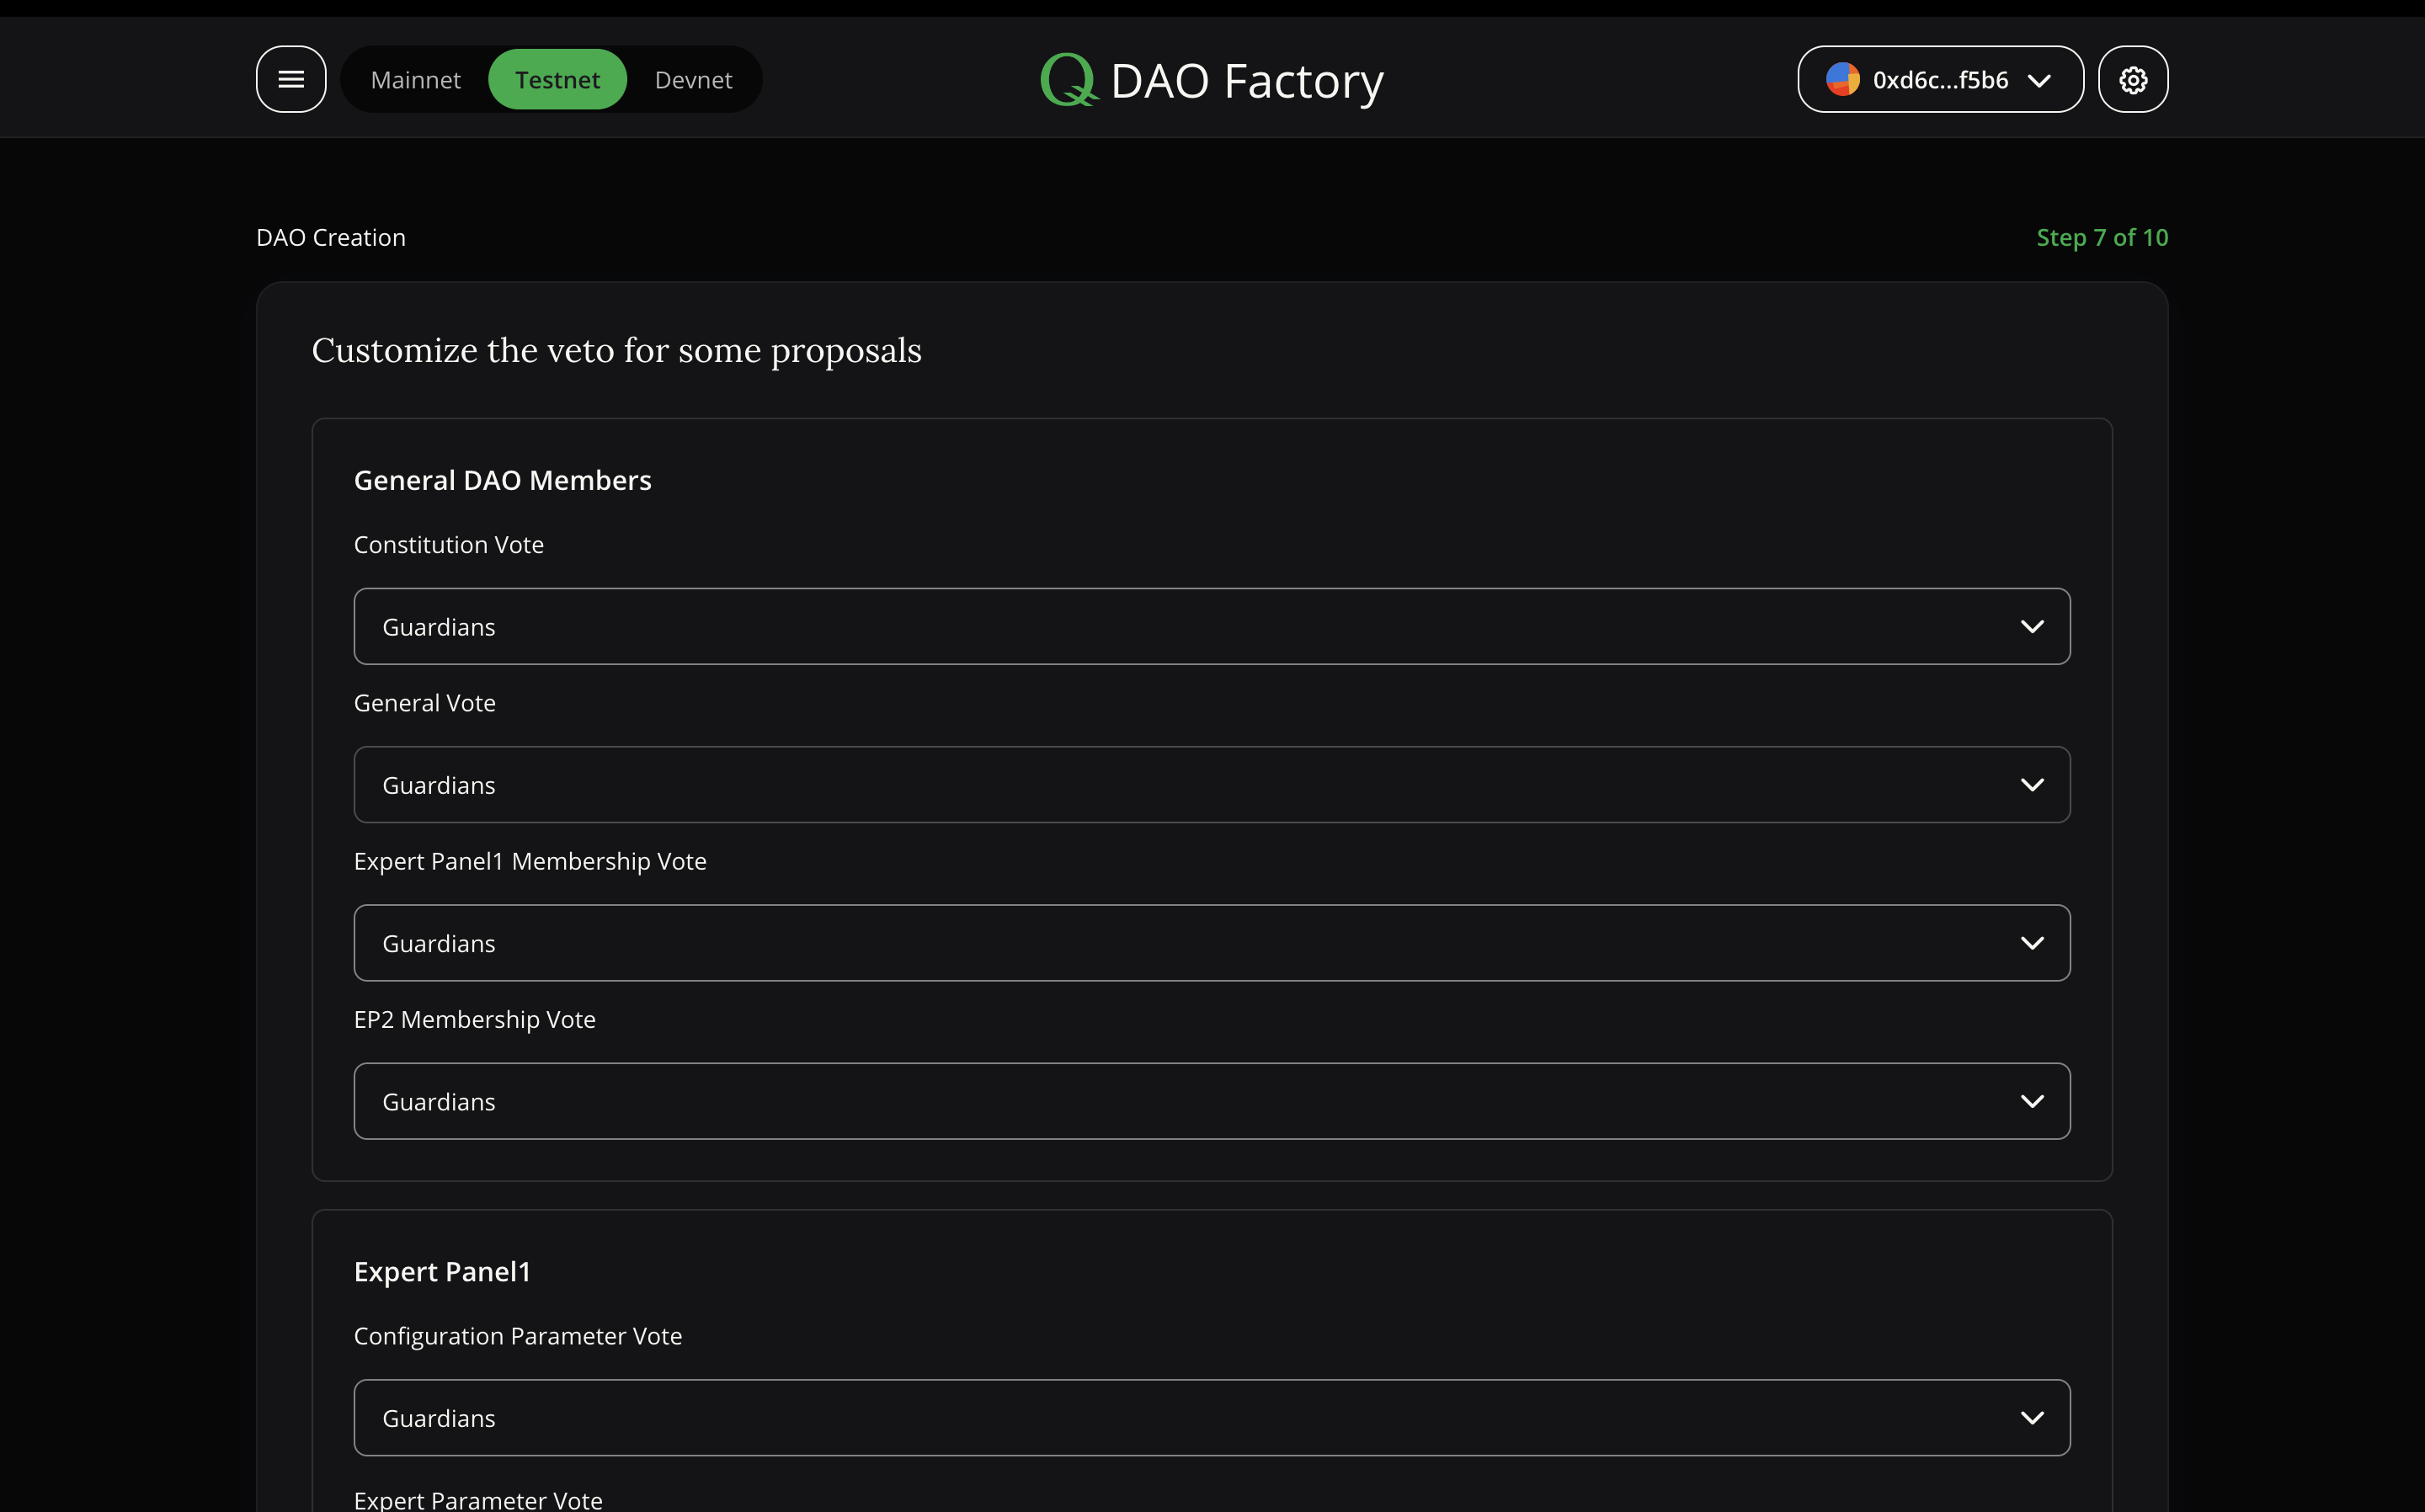
In this step, the veto options are customised. You can manually change veto rights for selected proposals from the default guardians to another Expert Panel. This is optional and can be used for creating a more nuanced structure of vetos. Technically, a veto can be implemented for any proposal. Be it Constitution Votes, General Votes, EP Membership Votes, or any other EP Vote
The start screen for this step will look like this. The proposals shown here obviously depend on the Expert Panels you created.
Eighth step (Create DAO treasury)
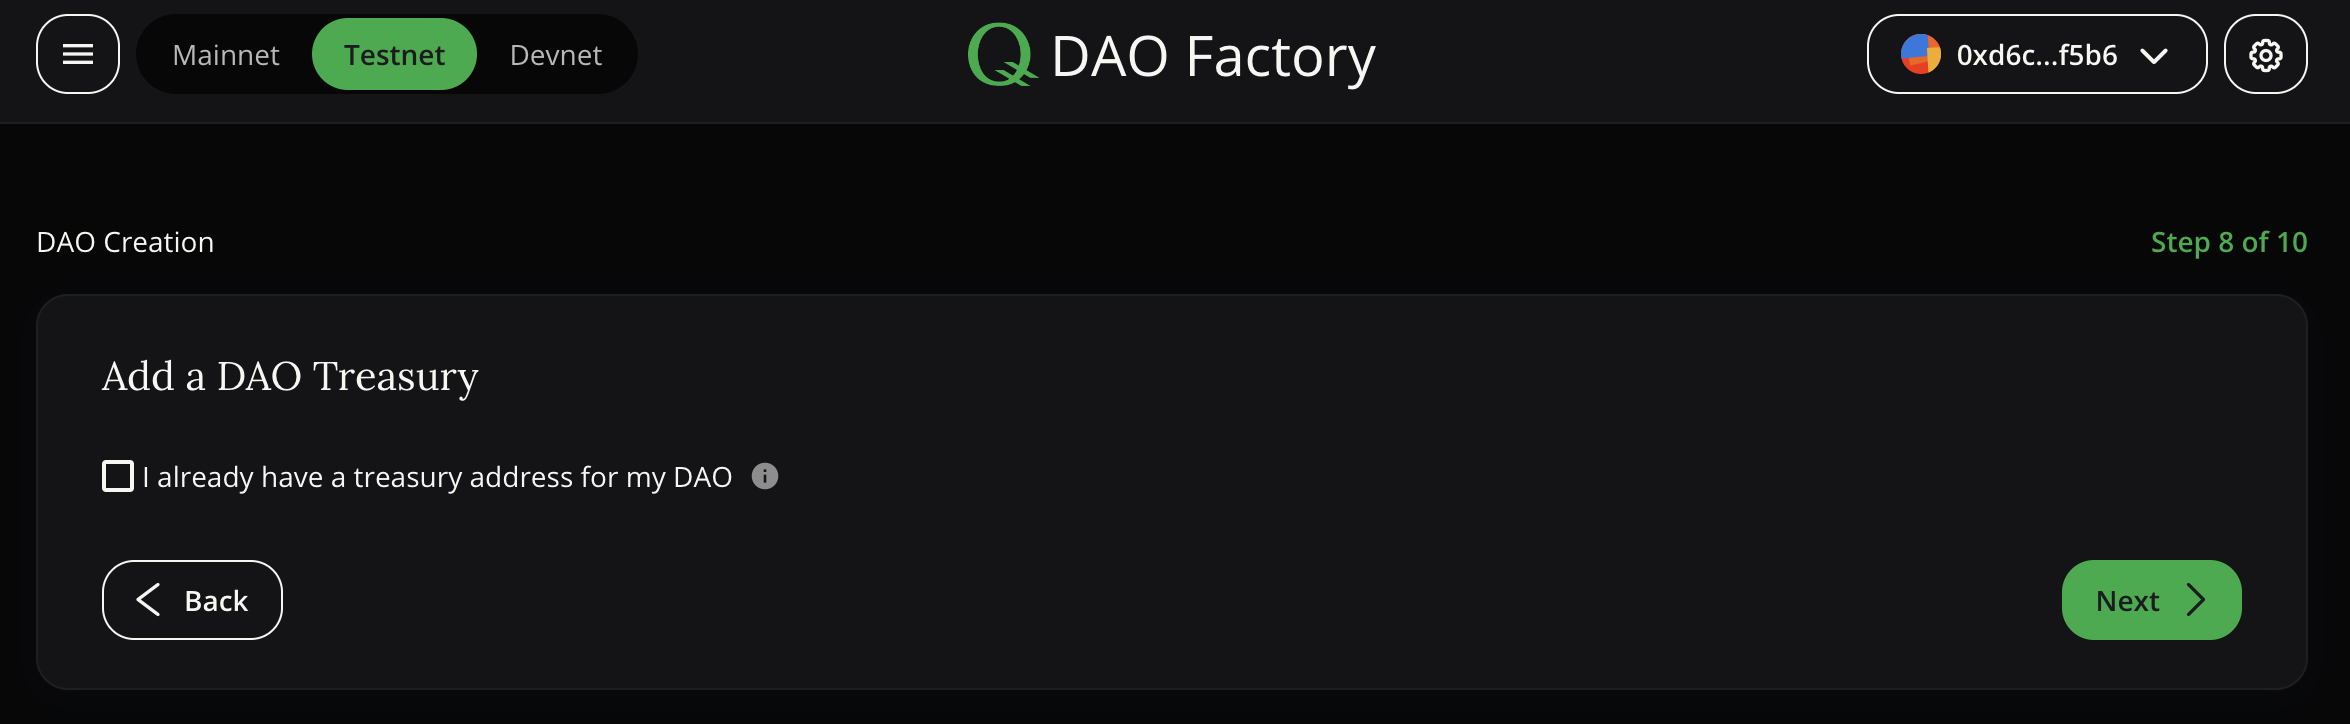
This step links the DAO to a treasury which holds the DAO funds. You can provide any address: a centralised wallet, a multisig, or any smart contract. This treasury address will be set as a Constitution Parameter. This way, it’s easy to see what’s the official DAO Treasury. Changes to this parameter (for example choosing a new address) can be done by the DAO.
Note: Treasury can be used if the DAO wants to use the tokens/money for something.
If you don’t yet have a treasury address for your DAO, that’s fine. Your DAO can always add one later by adding a new Constitution Parameter. You can read more about that following to section “How to create a proposal”
Ninth step (Constitution)
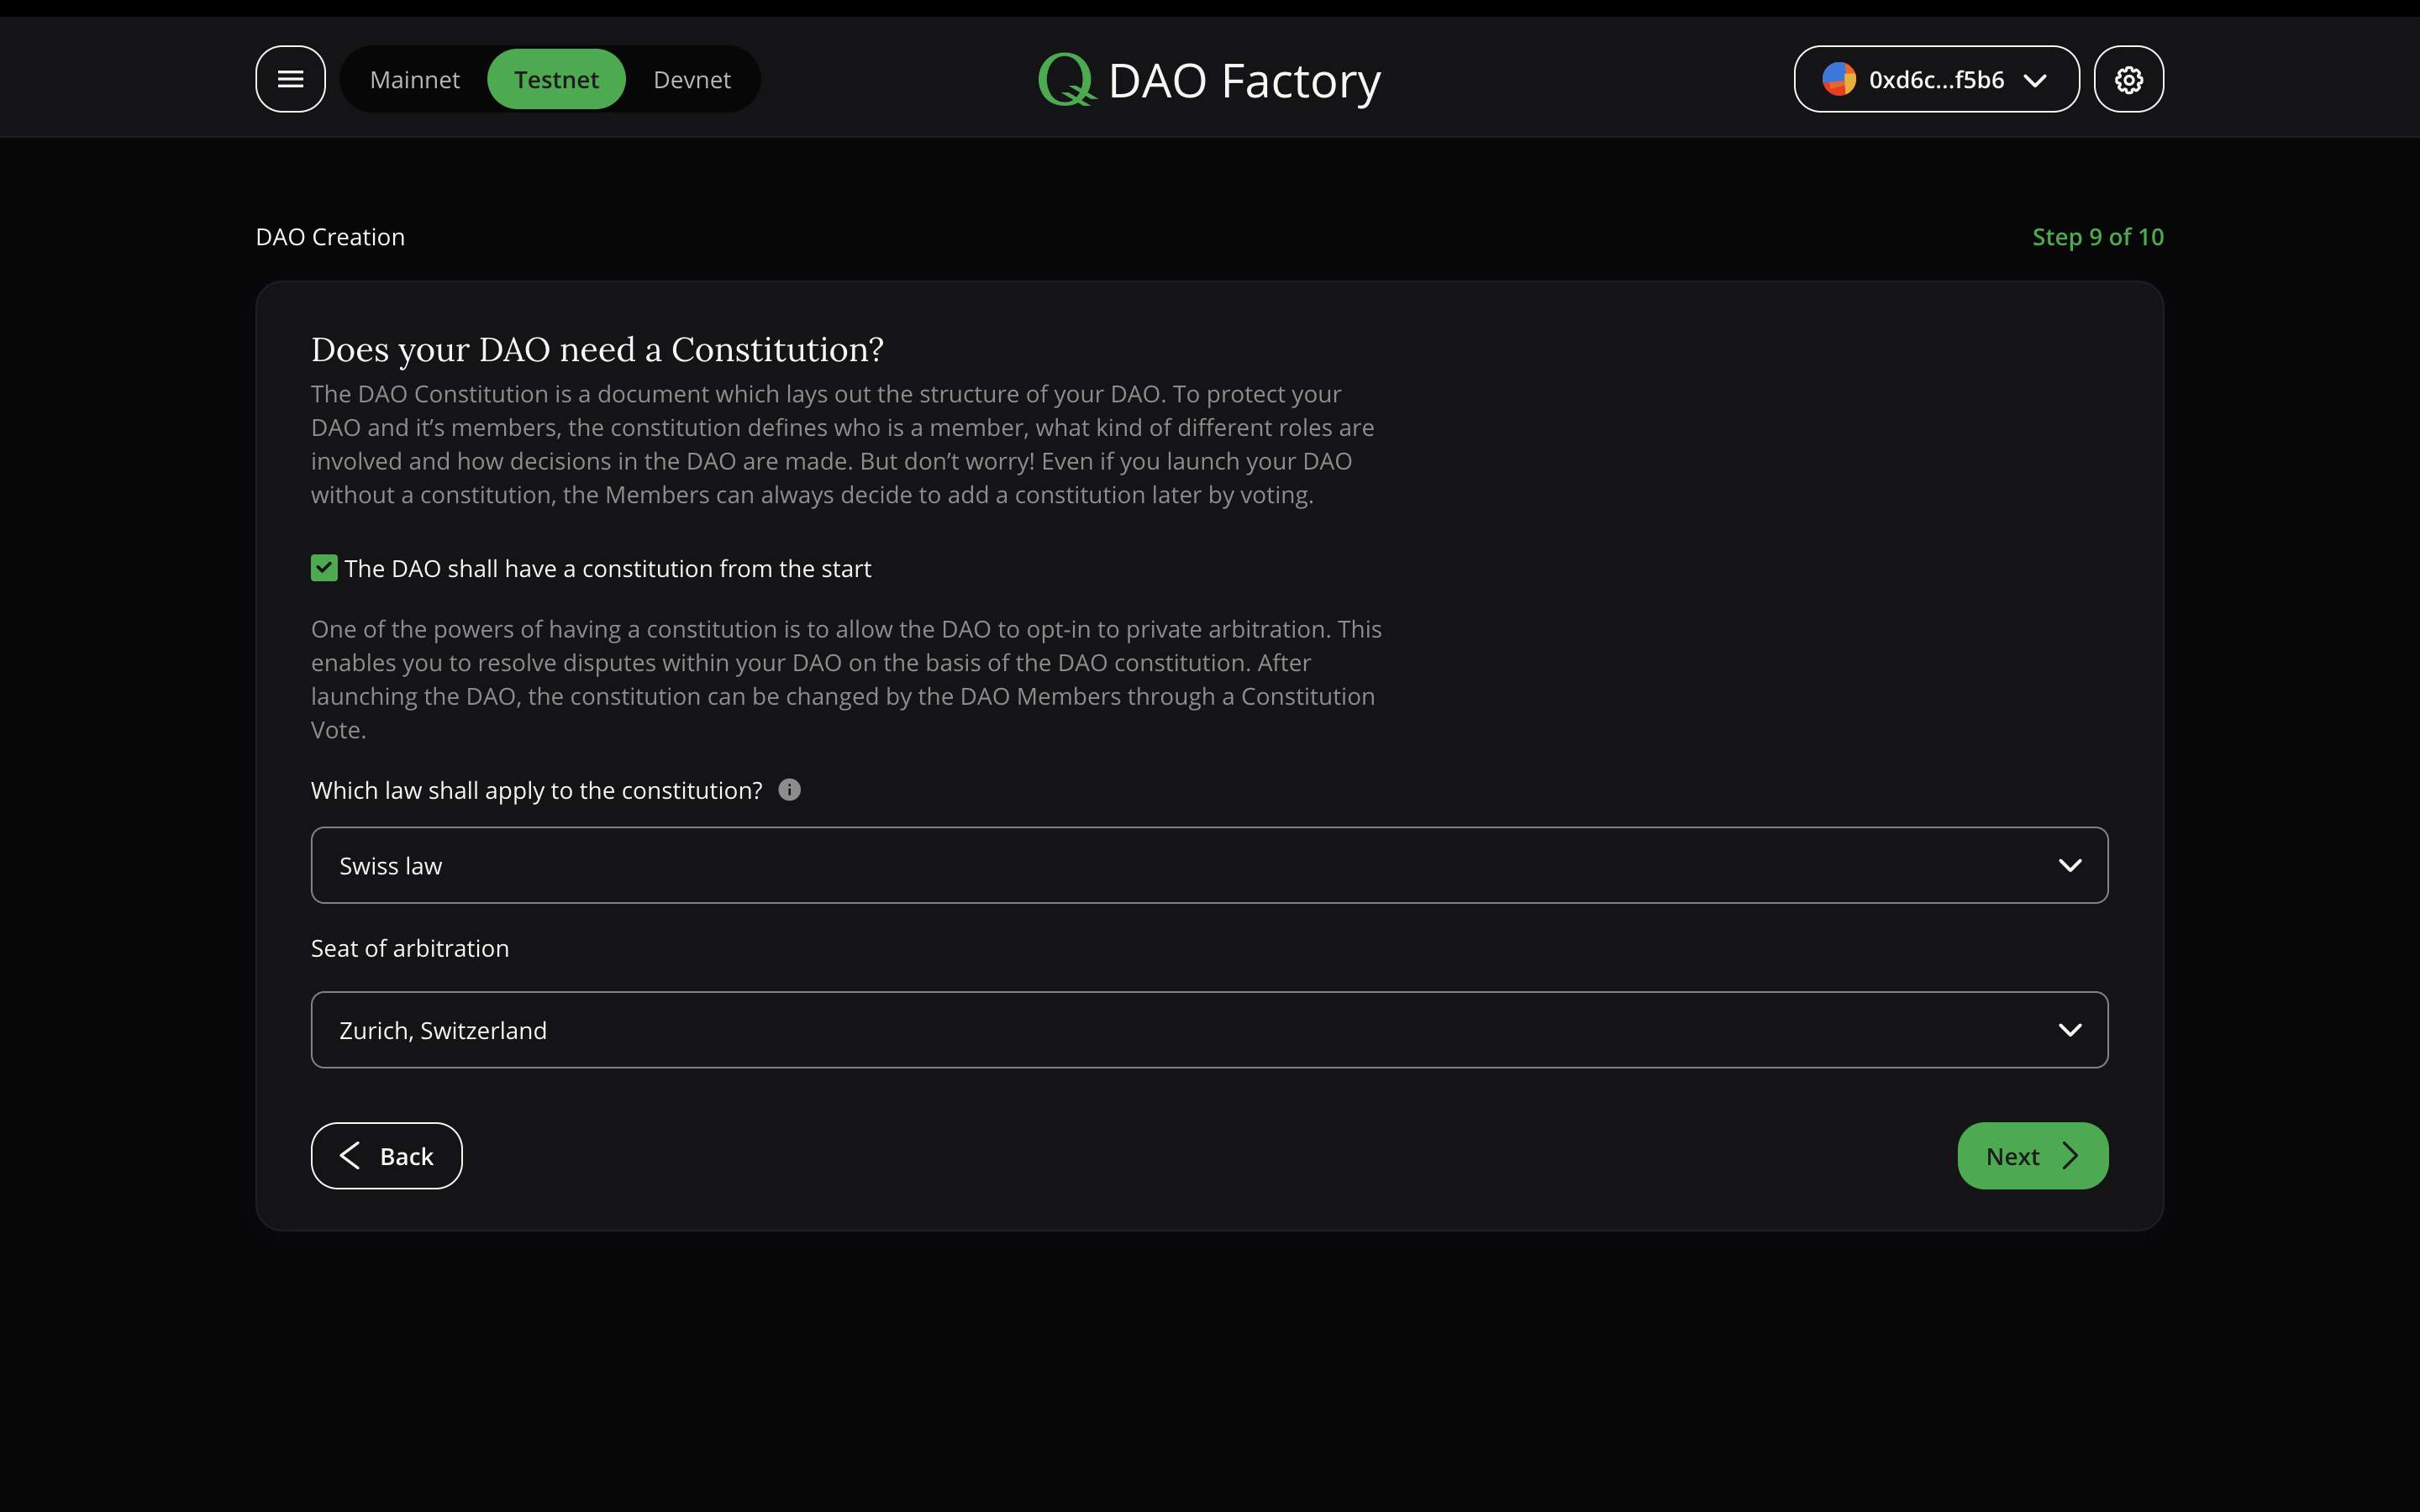
In this step, you can decide if you want to start their DAO with having a constitution, or not. This is optional and a constitution can always be added later by Constitution Vote.
If you decide to start with a constitution, you can select a choice of law for your constitution (or none) and a seat of arbitration to deal with disputes.
- Choice of law: defines how the private contract is interpreted, especially if something is not specifically described in the contract. Usually, if a DAO has a legal team, they would choose a law they know and are comfortable navigating.
- Seat of arbitration: if a case is opened, this defines where the proceedings will be managed, and which court will be responsible for taking on the case.
Both selections can be changed - by a Constitution Vote.
The constitution will be shown in the next steps, to take a look at. If you want to take some time to review the constitution and want to start the DAO without it, you can come back here and deselect it.
Note: All DAO parameters (e.g. voting majorities or veto periods) will be listed in the constitution
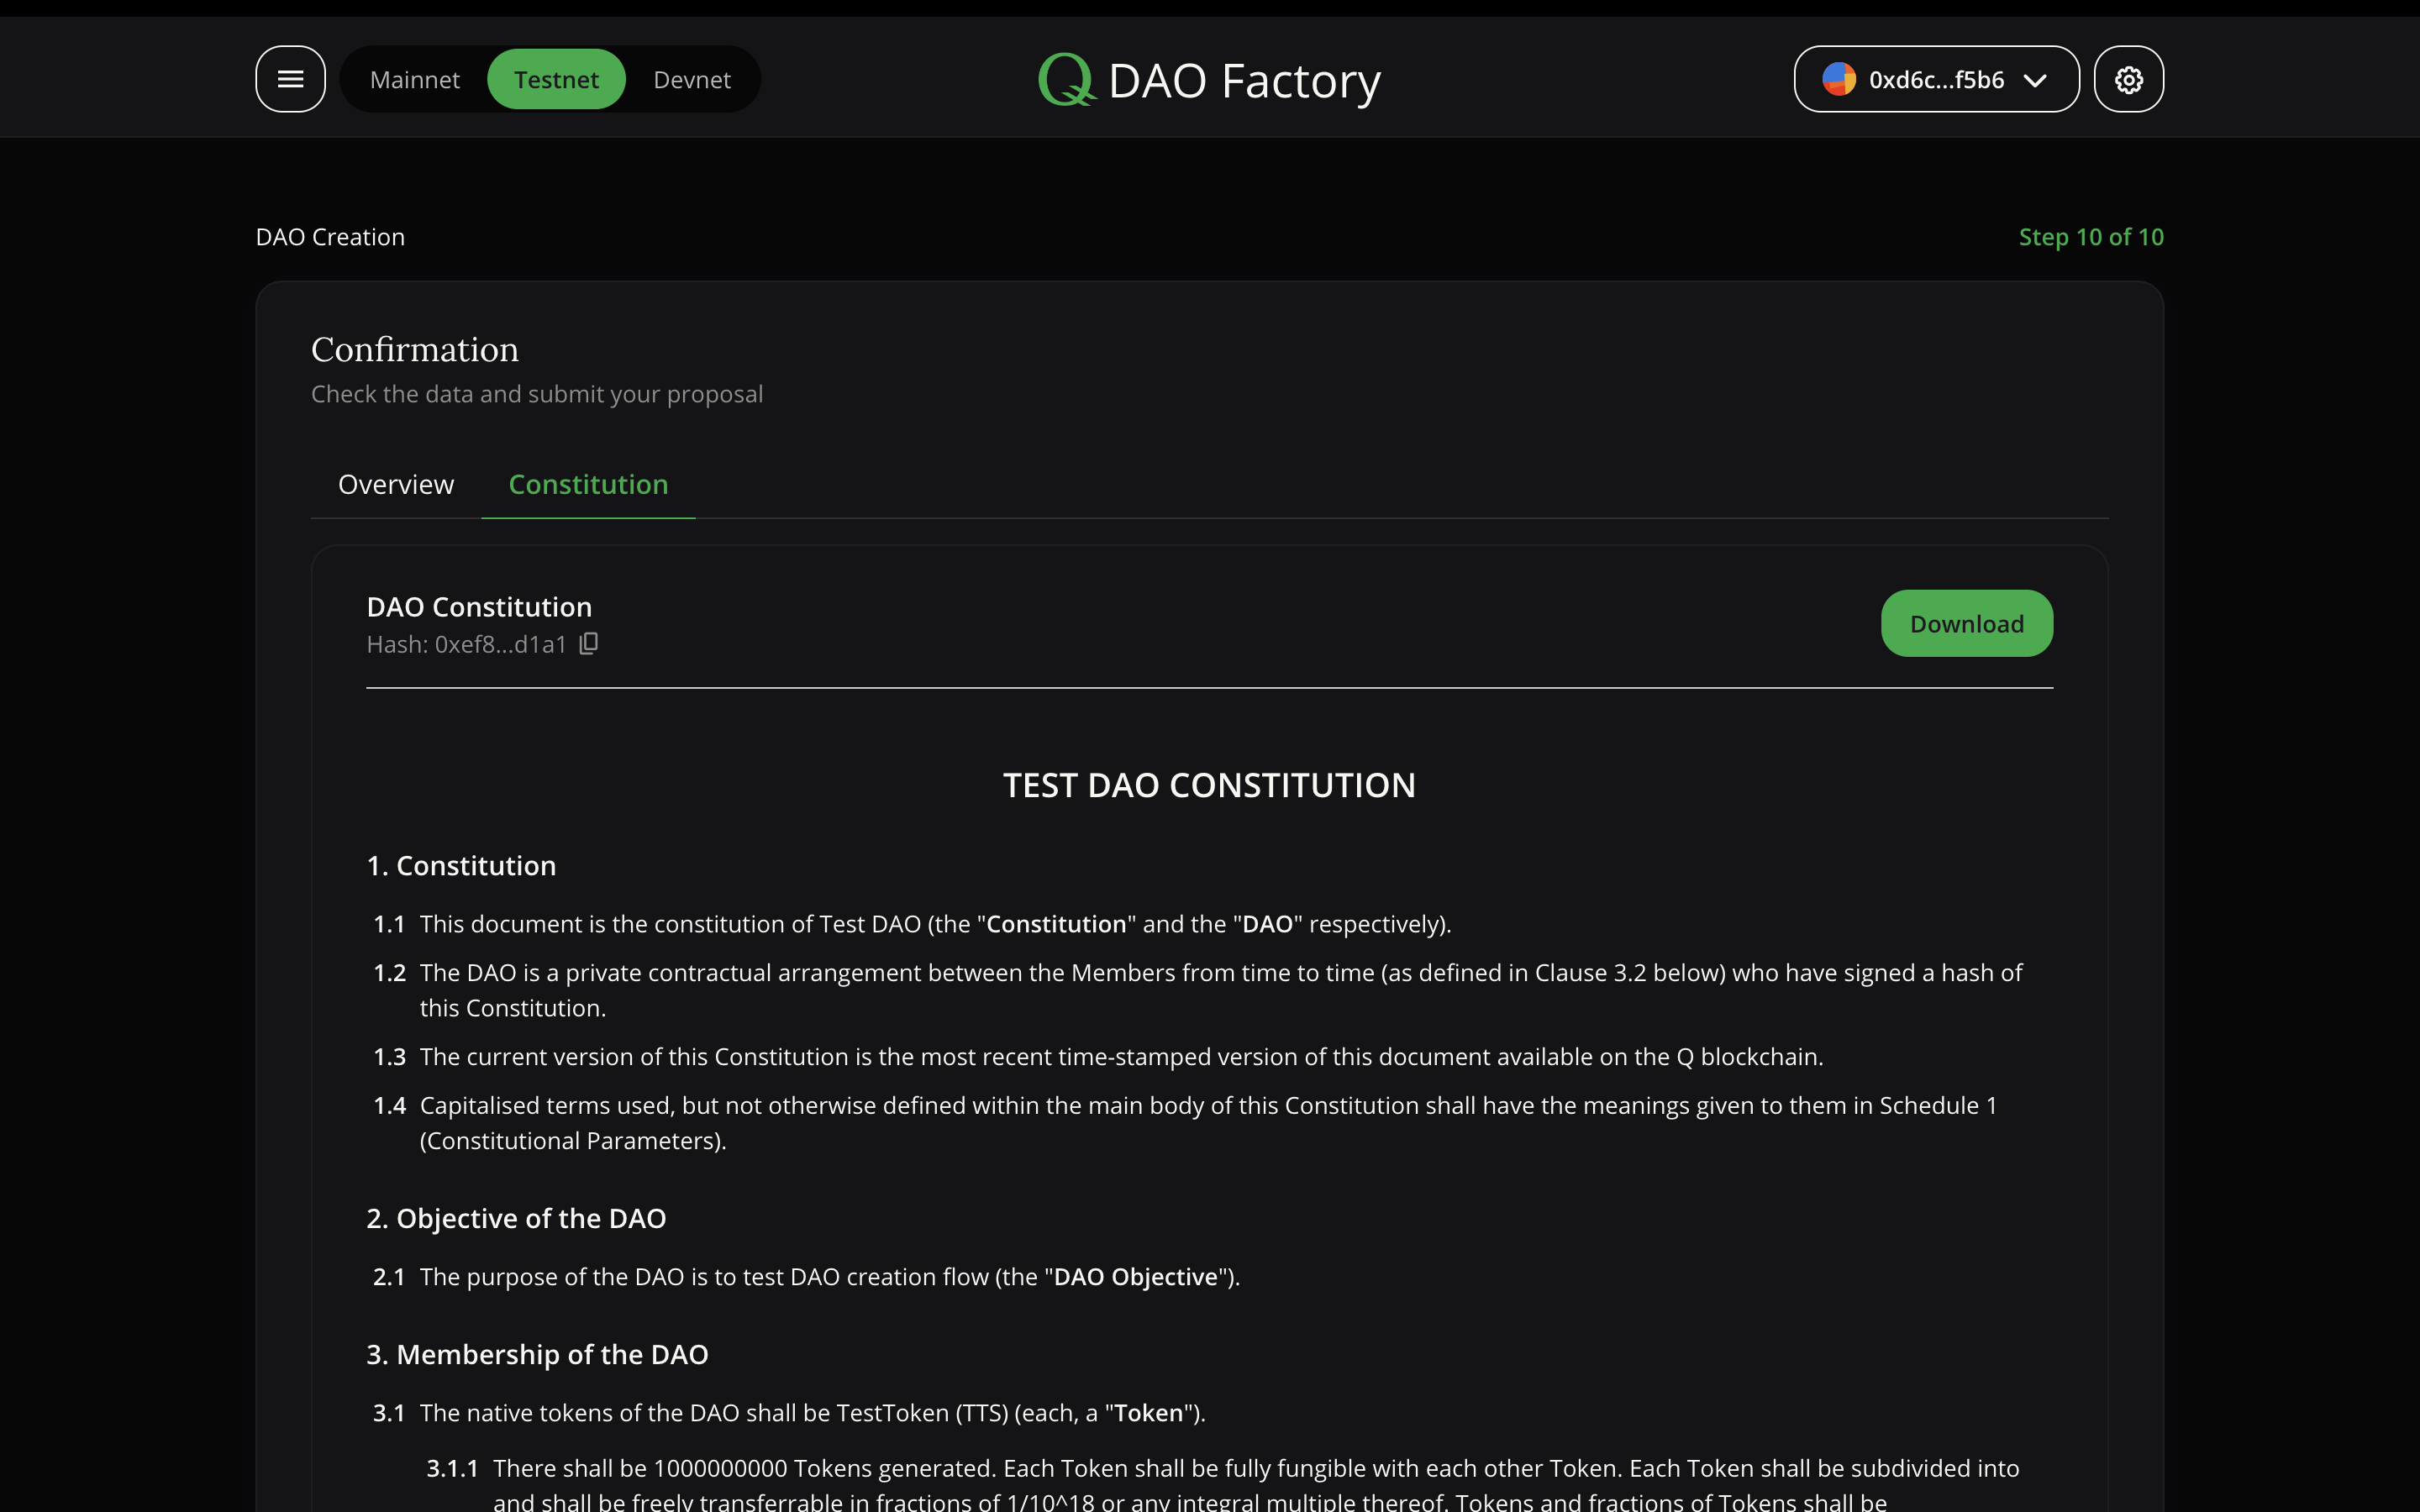
Tenth step (Confirmation)
This is the final stage. In the tab “Overview” you can read the information about the DAO you want to create and check if everything you have specified and if you need to make any changes. Now this can be done by clicking on the "pencil" image.

In the tab “Constitution” you can read the full Constitution text. Download the constitution in .adoc format and copy the constitution hash.
If you want to change some points in the Constitution, you need back to the tab “Overview” and click on the "pencil" image.
After verification and confirmation, you can deploy your DAO. Therefore need to sign transactions with your wallet. You will receive an address of the DAO Registry which will be the unique address of your DAO. You can now go on and manage your DAO at dao-hq.qgov.io/[your_address]
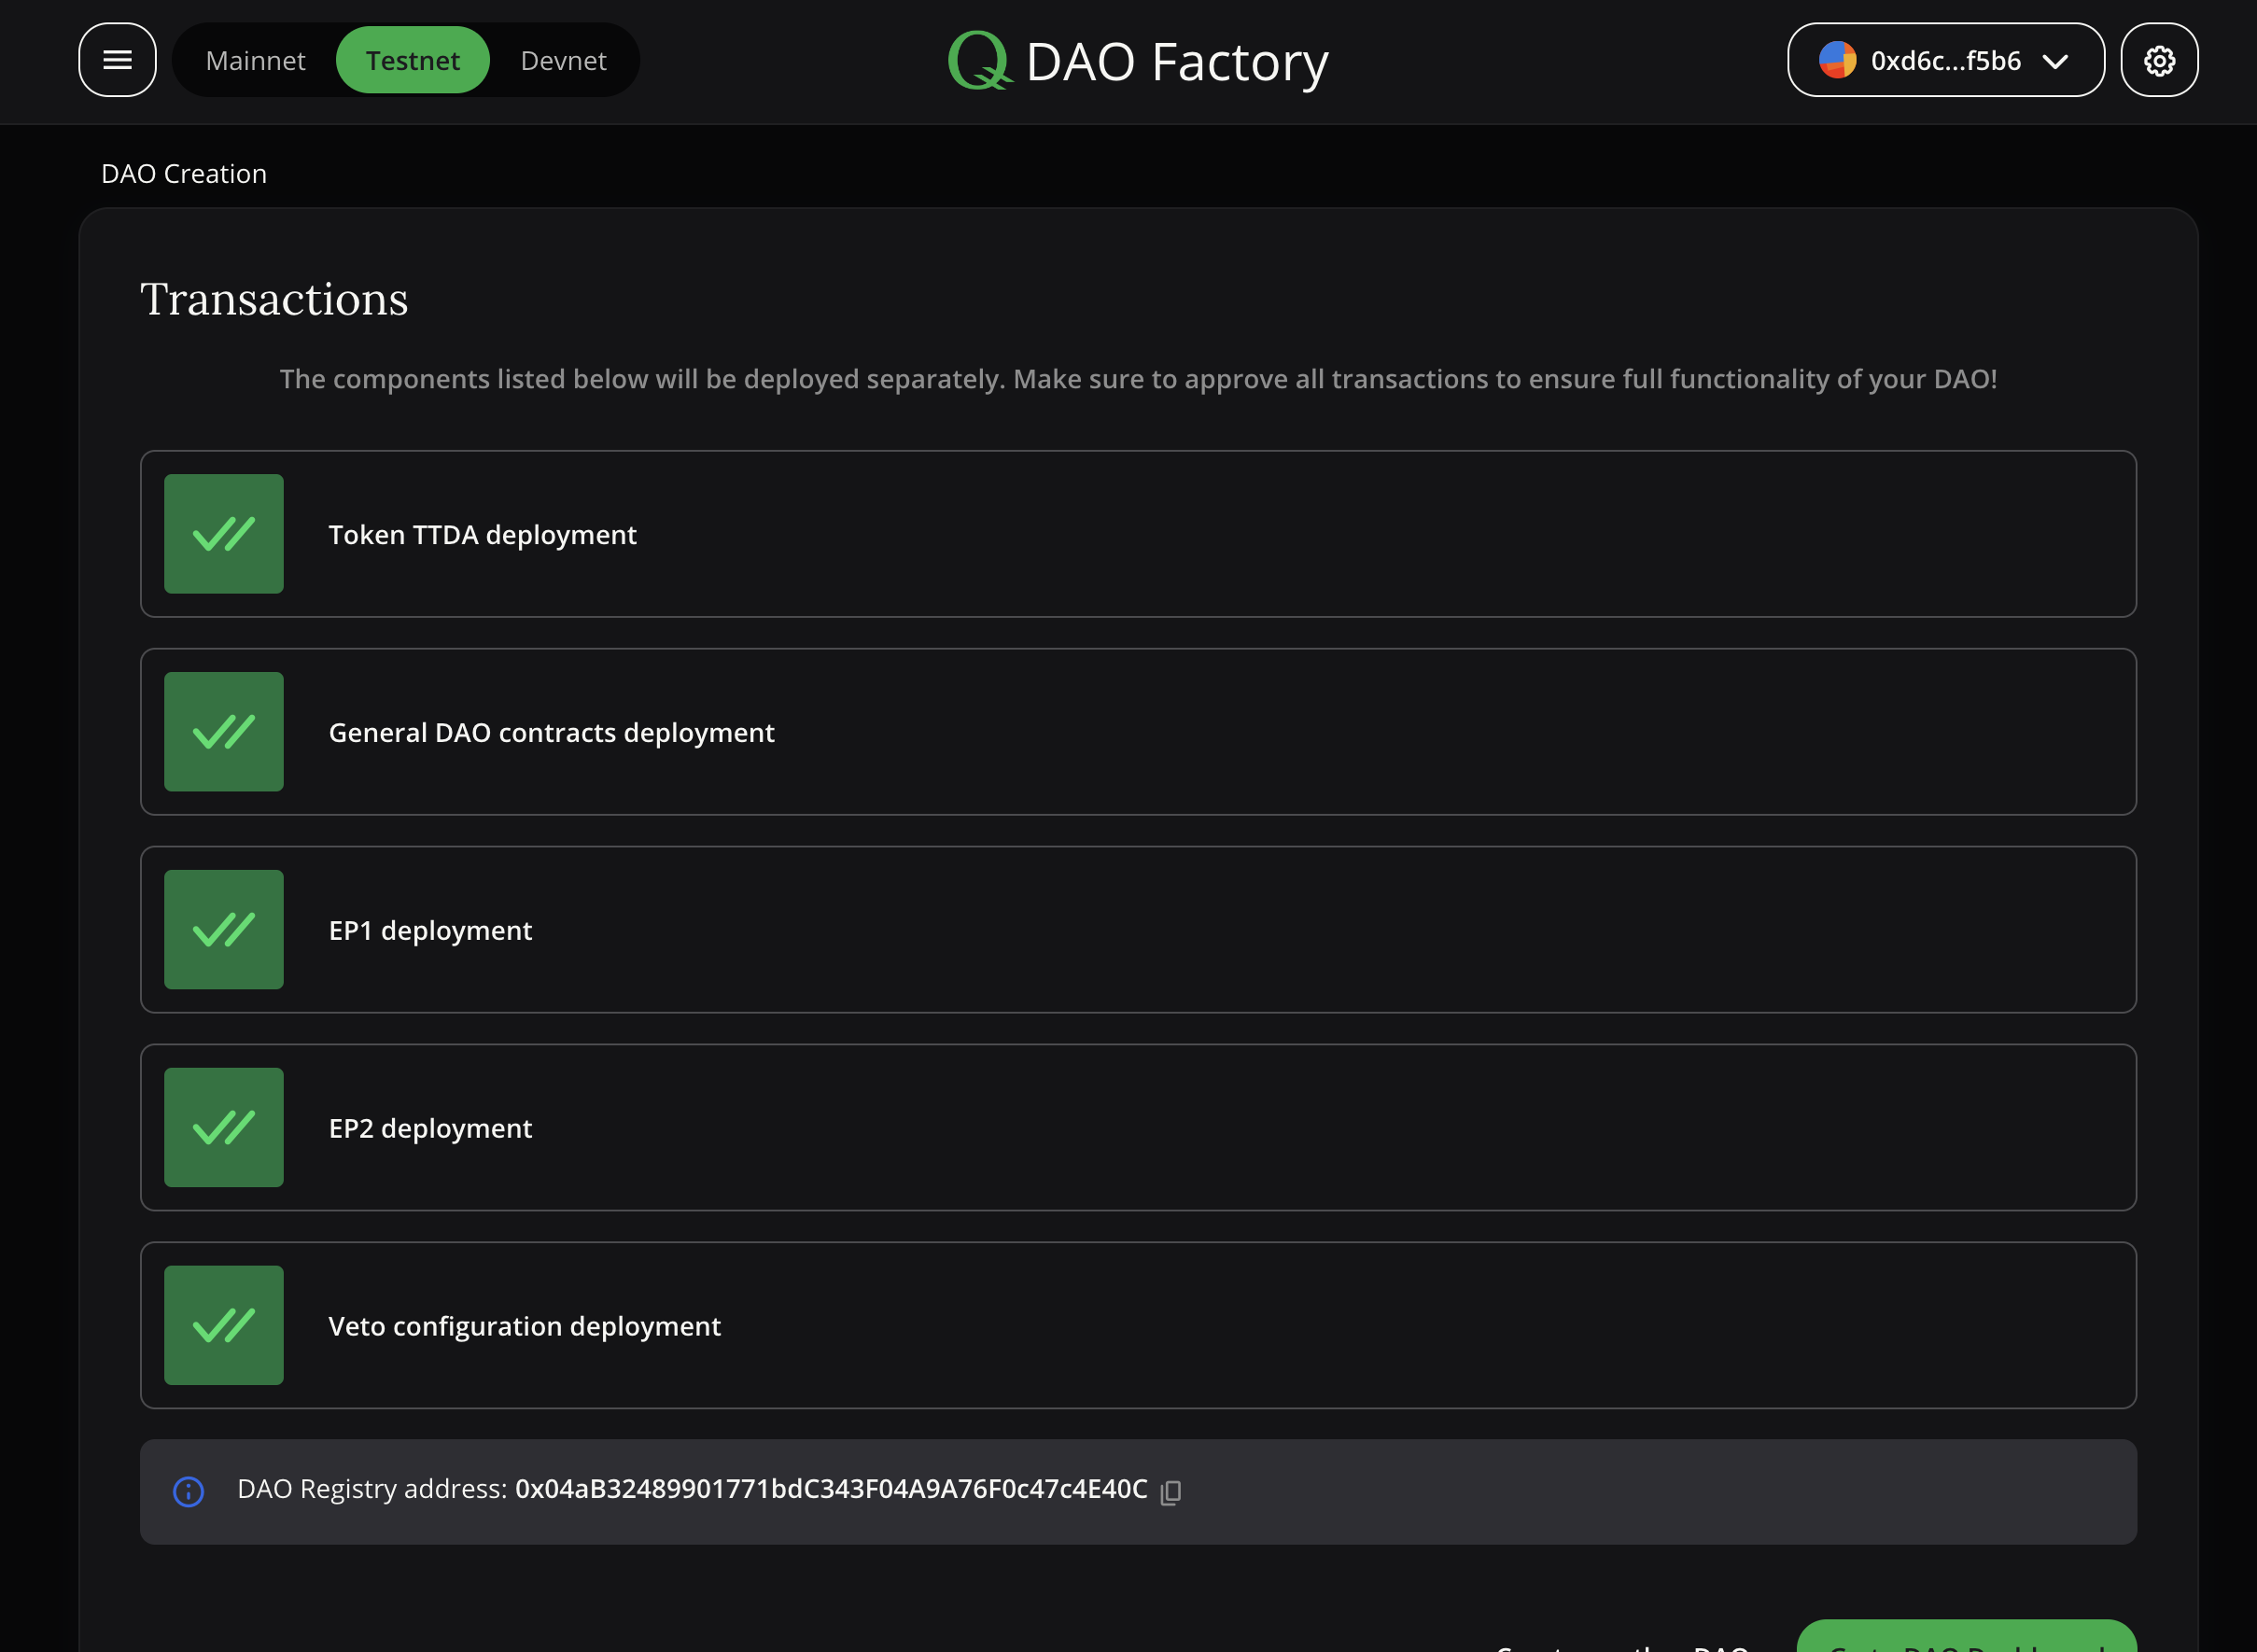
And that’s it, you have deployed your DAO. How to interact with it will further be discussed in the next section.